Hey everyone,
I'm one of the founders of Solar Circle Co-op. Below is a summary of the DIY grid-tied solar install I finished last year in 2024. This project was so successful I really wanted to share my lessons learned and also make it easier for others to install DIY solar on their own homes. If you have any questions, I'd be happy to answer.
One of the biggest issues I had was figuring out where to buy solar panels and solar equipment in Canada. Solar Circle Co-op was founded to help solve this problem for others.
Here is the single line diagram for the project:
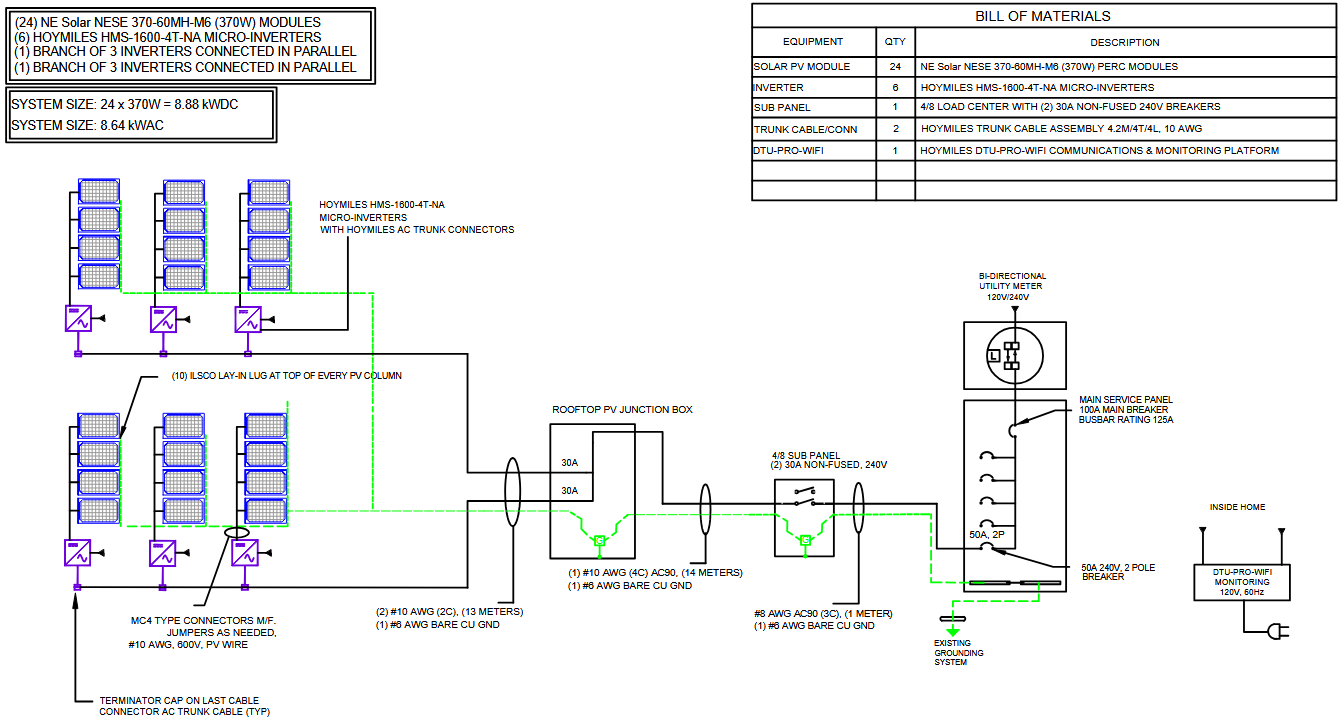
I calculated my annual electricity usage, designed my system with OpenSolar.com and submitted a "micro-generation application" with my utility line owner (Fortis). It took them almost 6 months to approve the application (Fortis is ridiculous).
I ordered my materials and tools, reviewed all the install guides, watched youtube videos and then setup my ladder. I was ready (or at least I thought I was!):
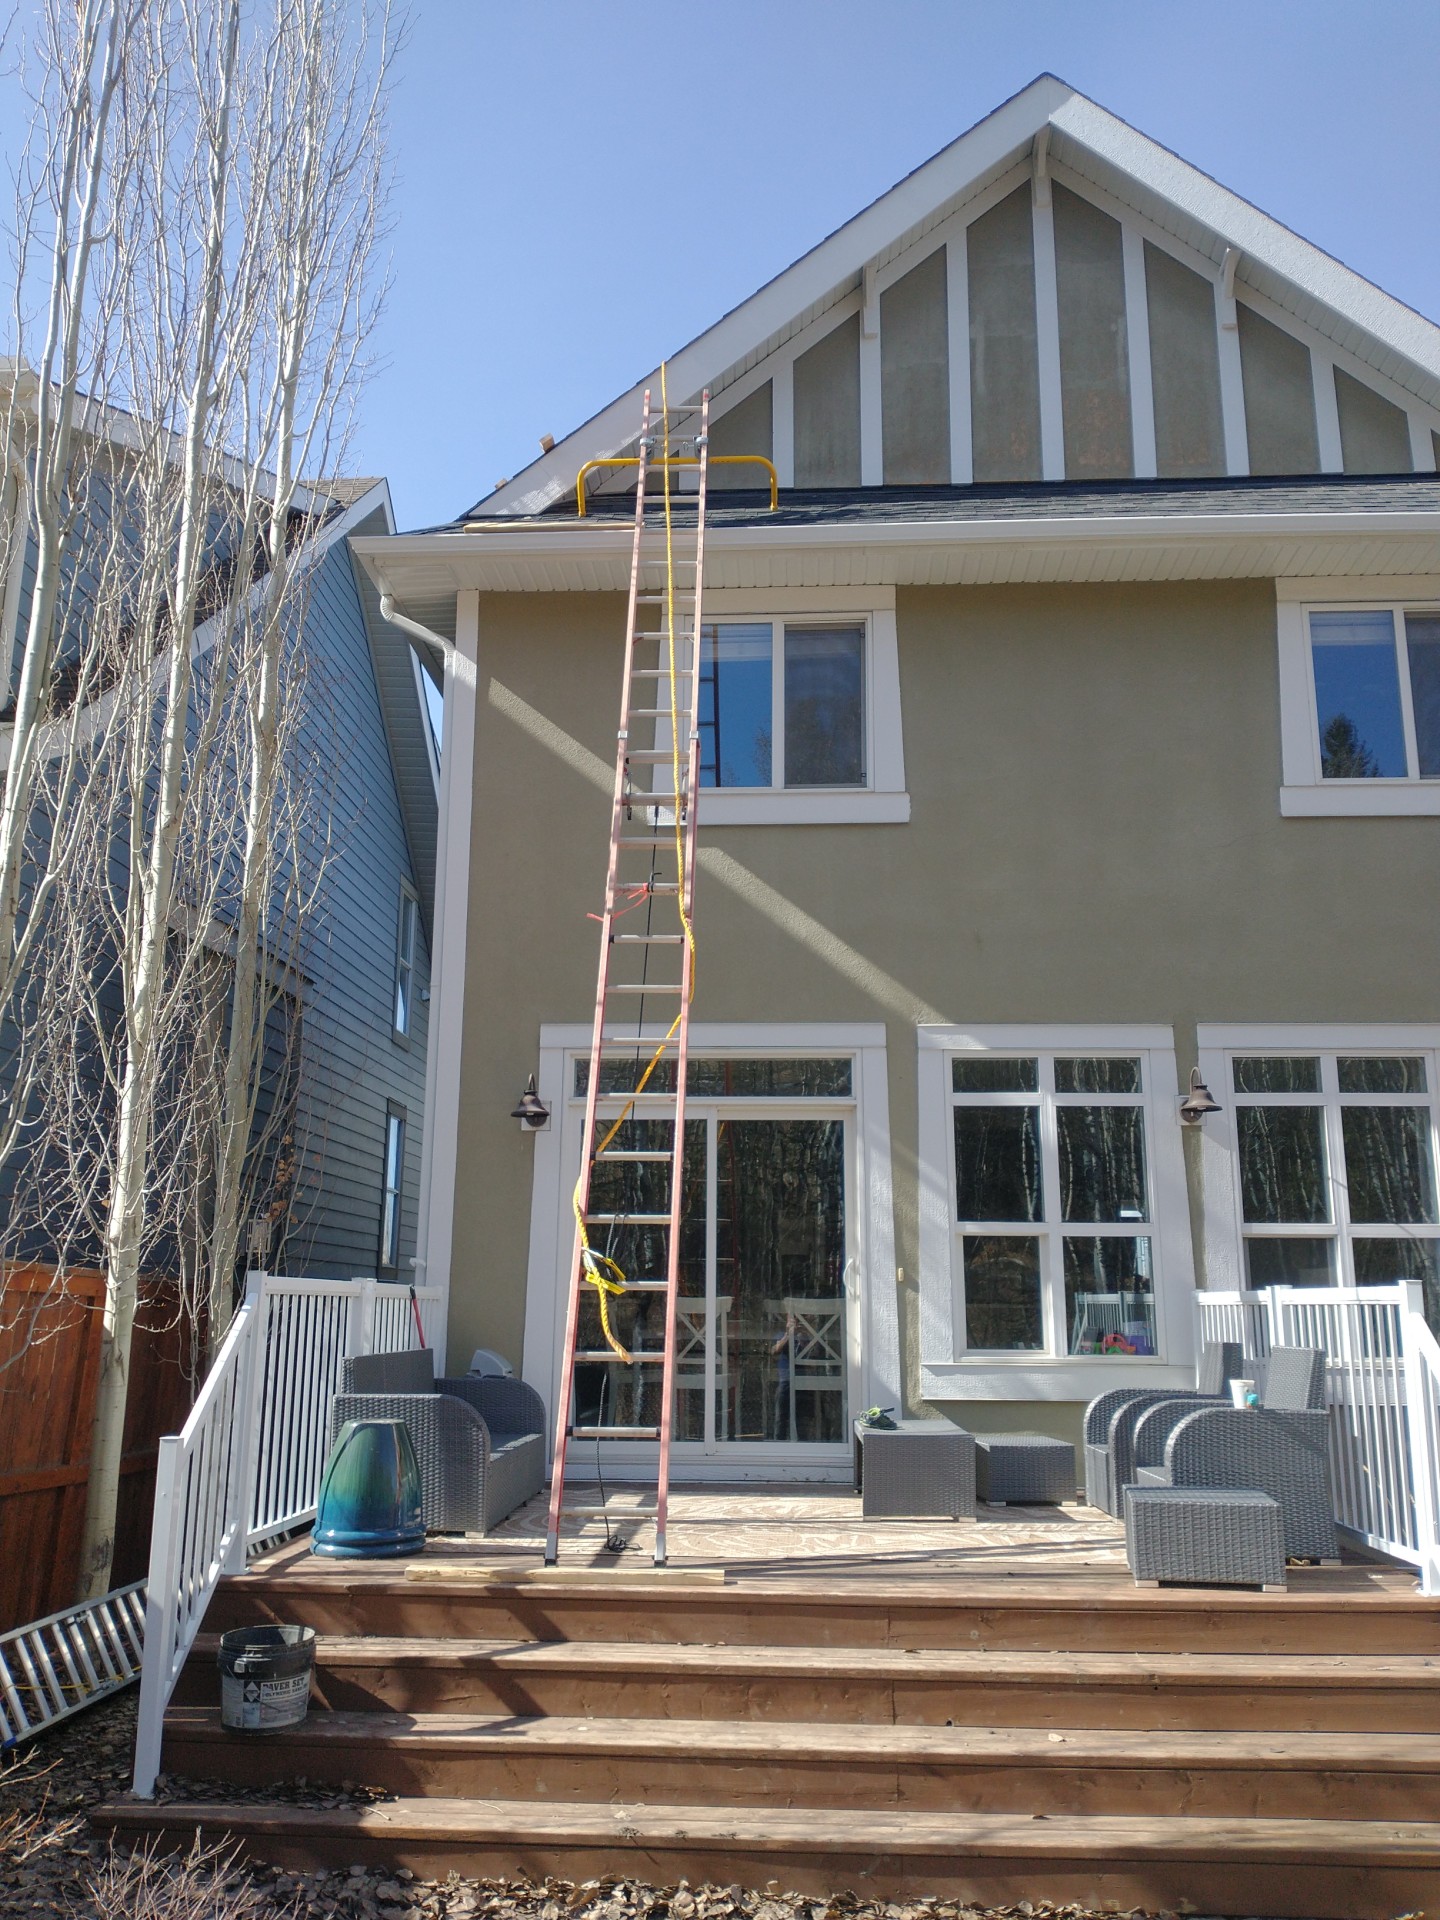
Once I got on my roof, I realized that the slope (10:12 or roughly 40 degrees) was uncomfortably steep.
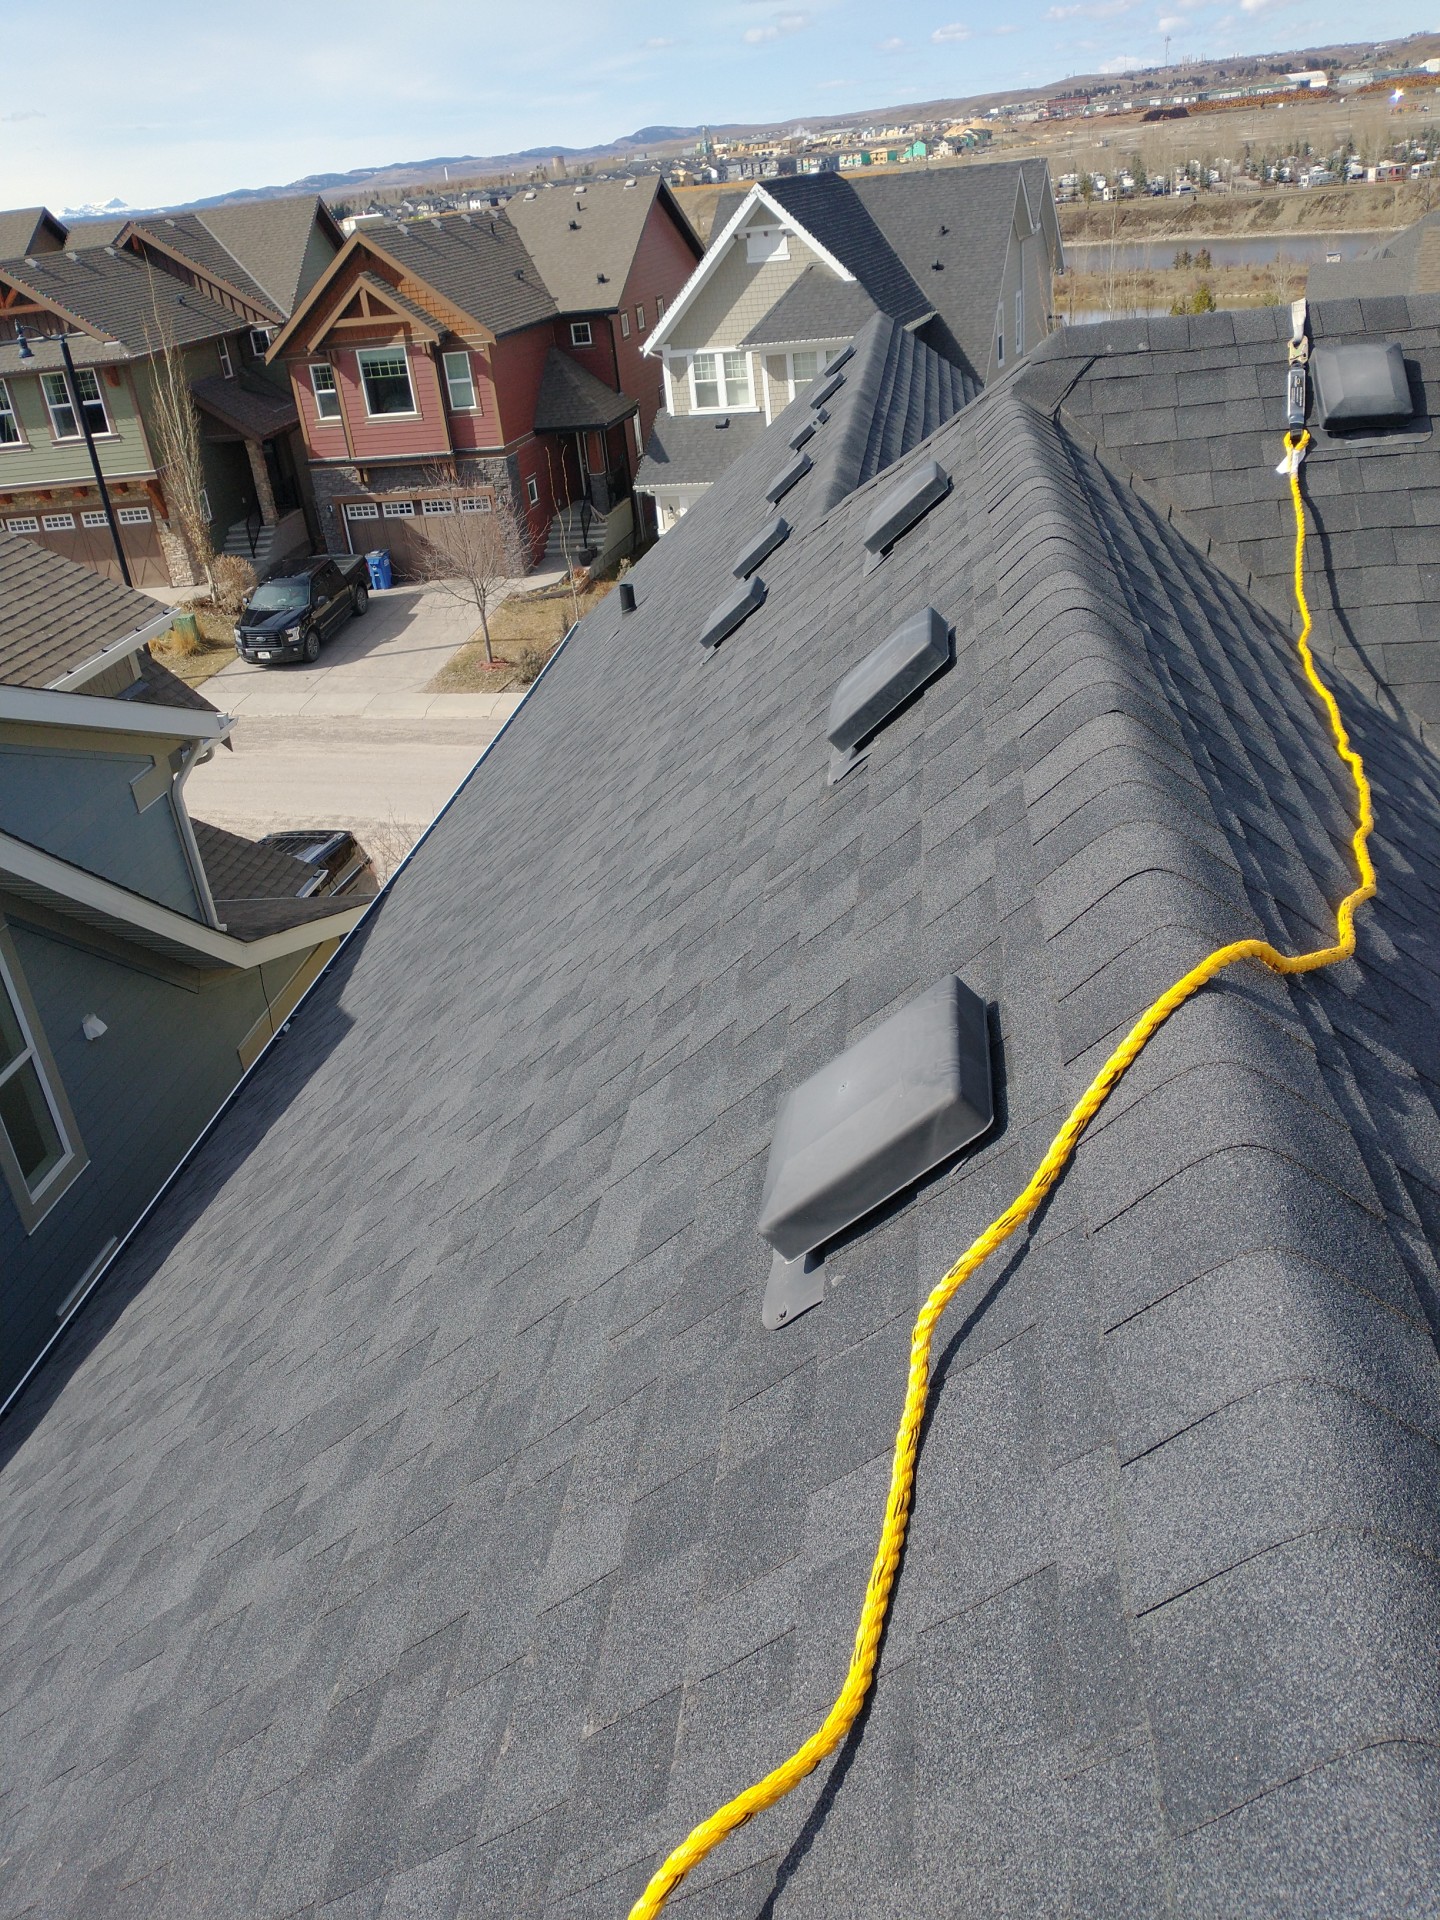
So to make it more safe/manageable, I hired a roofer to install "roof jacks" with 2x8x10 boards along the bottom edge of the roof line (just before the eave). Here are the boards and roof jacks that I got:
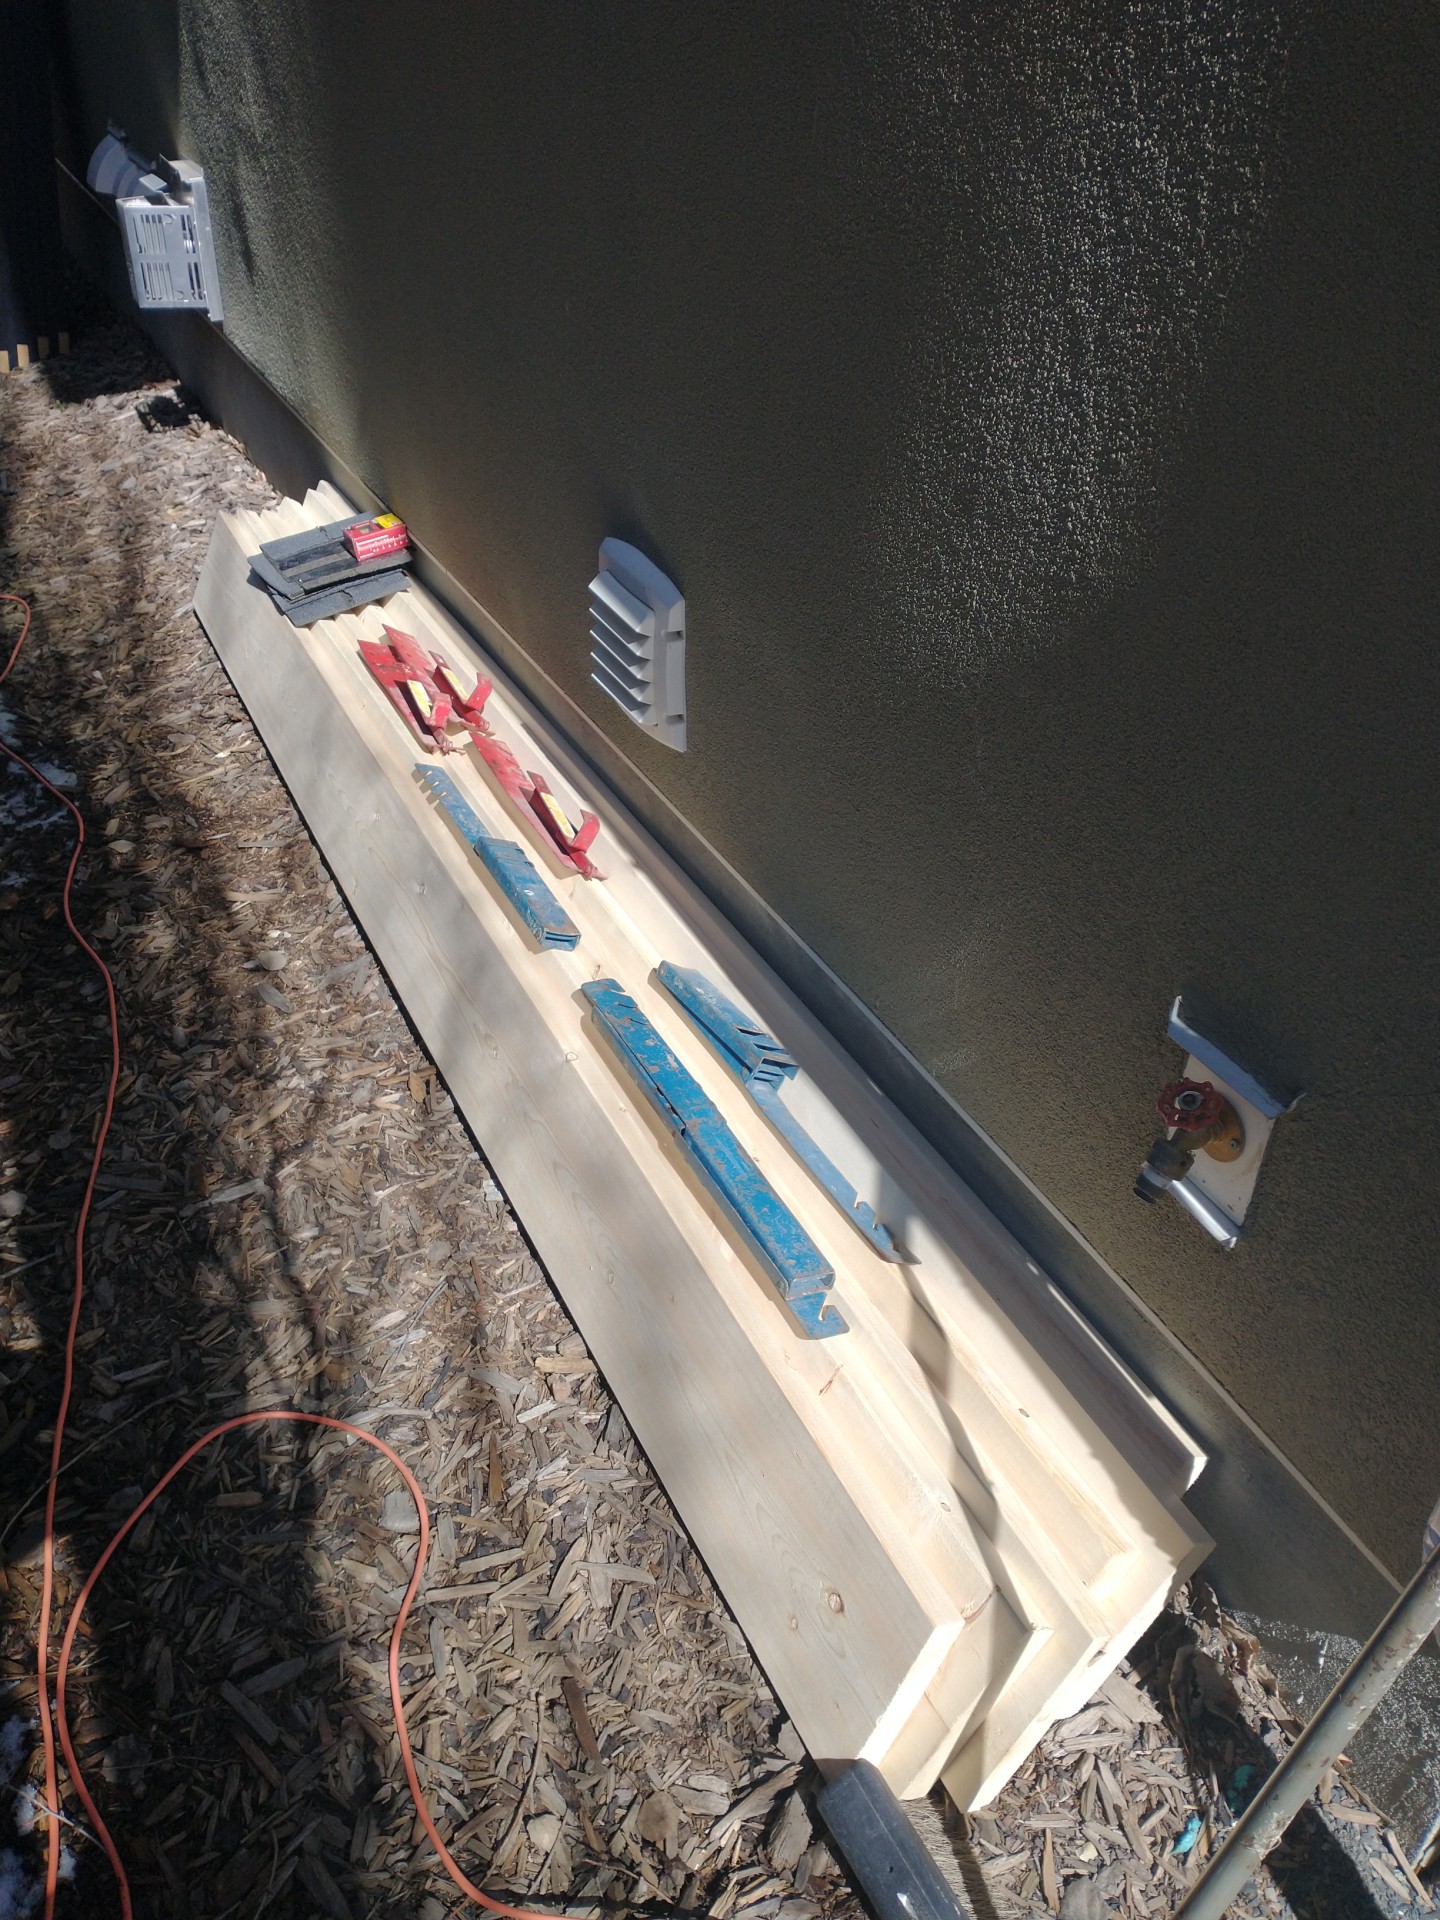
In this pic you can see the roof jacks w/boards, which I used to stand on to install the bottom rail. Once I had the bottom rail installed, I could stand on it to install the next rail. You can also see the Hoymiles HMS-1600 micro-inverters I'm using in this pic:
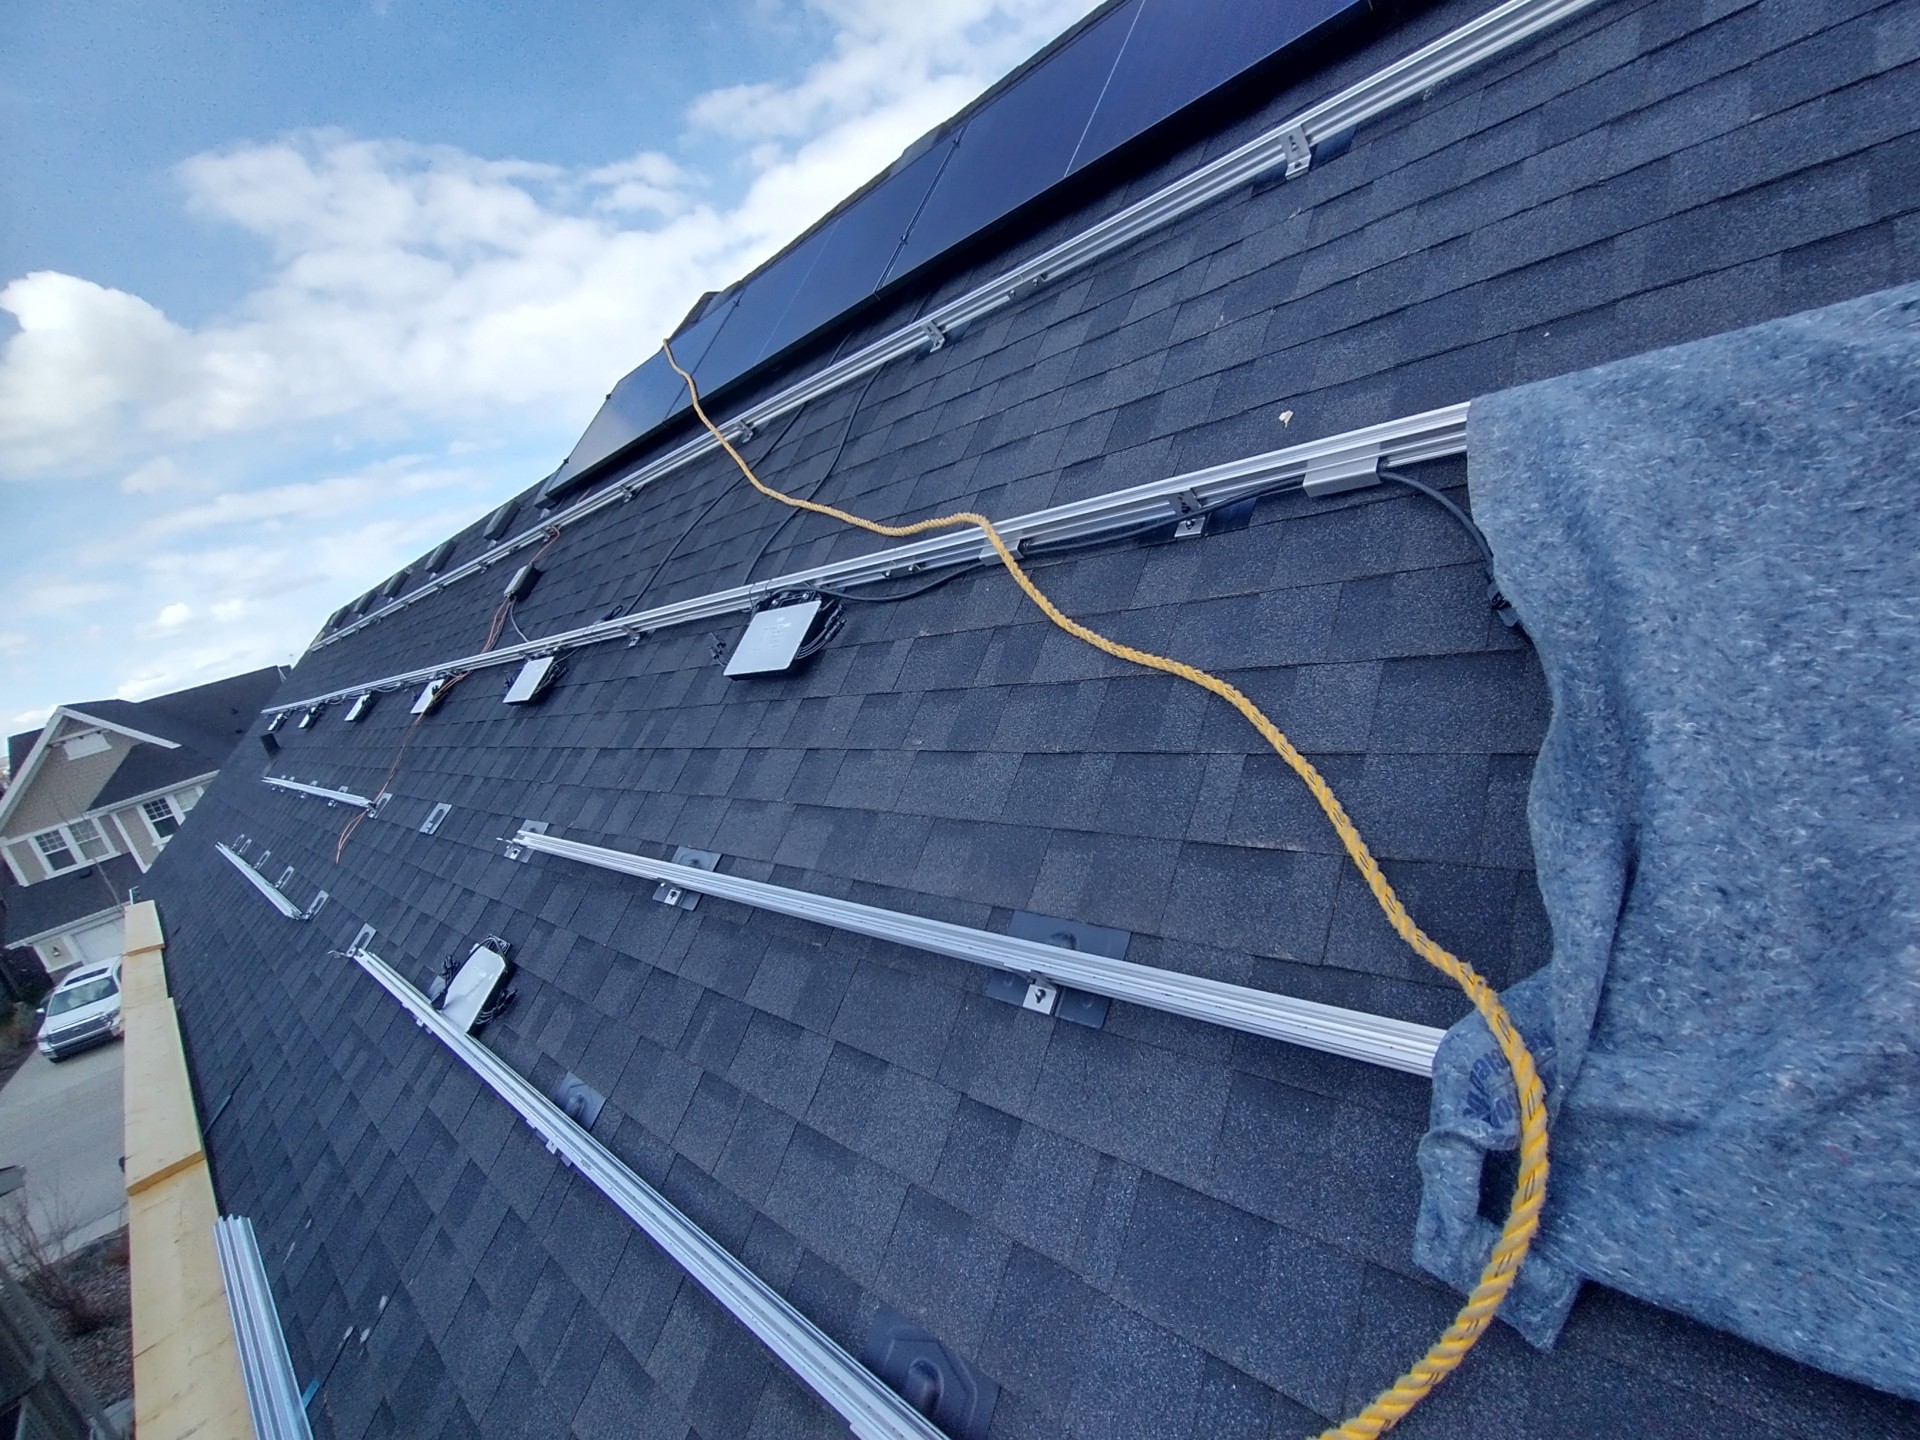
Brief note on the Hoymiles 4-in-1 micro-inverters (which you can plug 4 solar panels into): In hindsight, I would have been better off using 2-in-1 micro-inverters from either APSystems or Hoymiles (which only allow 2 solar panels to connect). Reason being, many of my solar panels did not have long enough positive/negative wires to REACH the 4-in-1 micro-inverter, so I had to extend the wire length of many of them. This would not have been a problem if I had used a 2-in-1 micro-inverter solution. Lesson learned.
Here is the rooftop junction box:
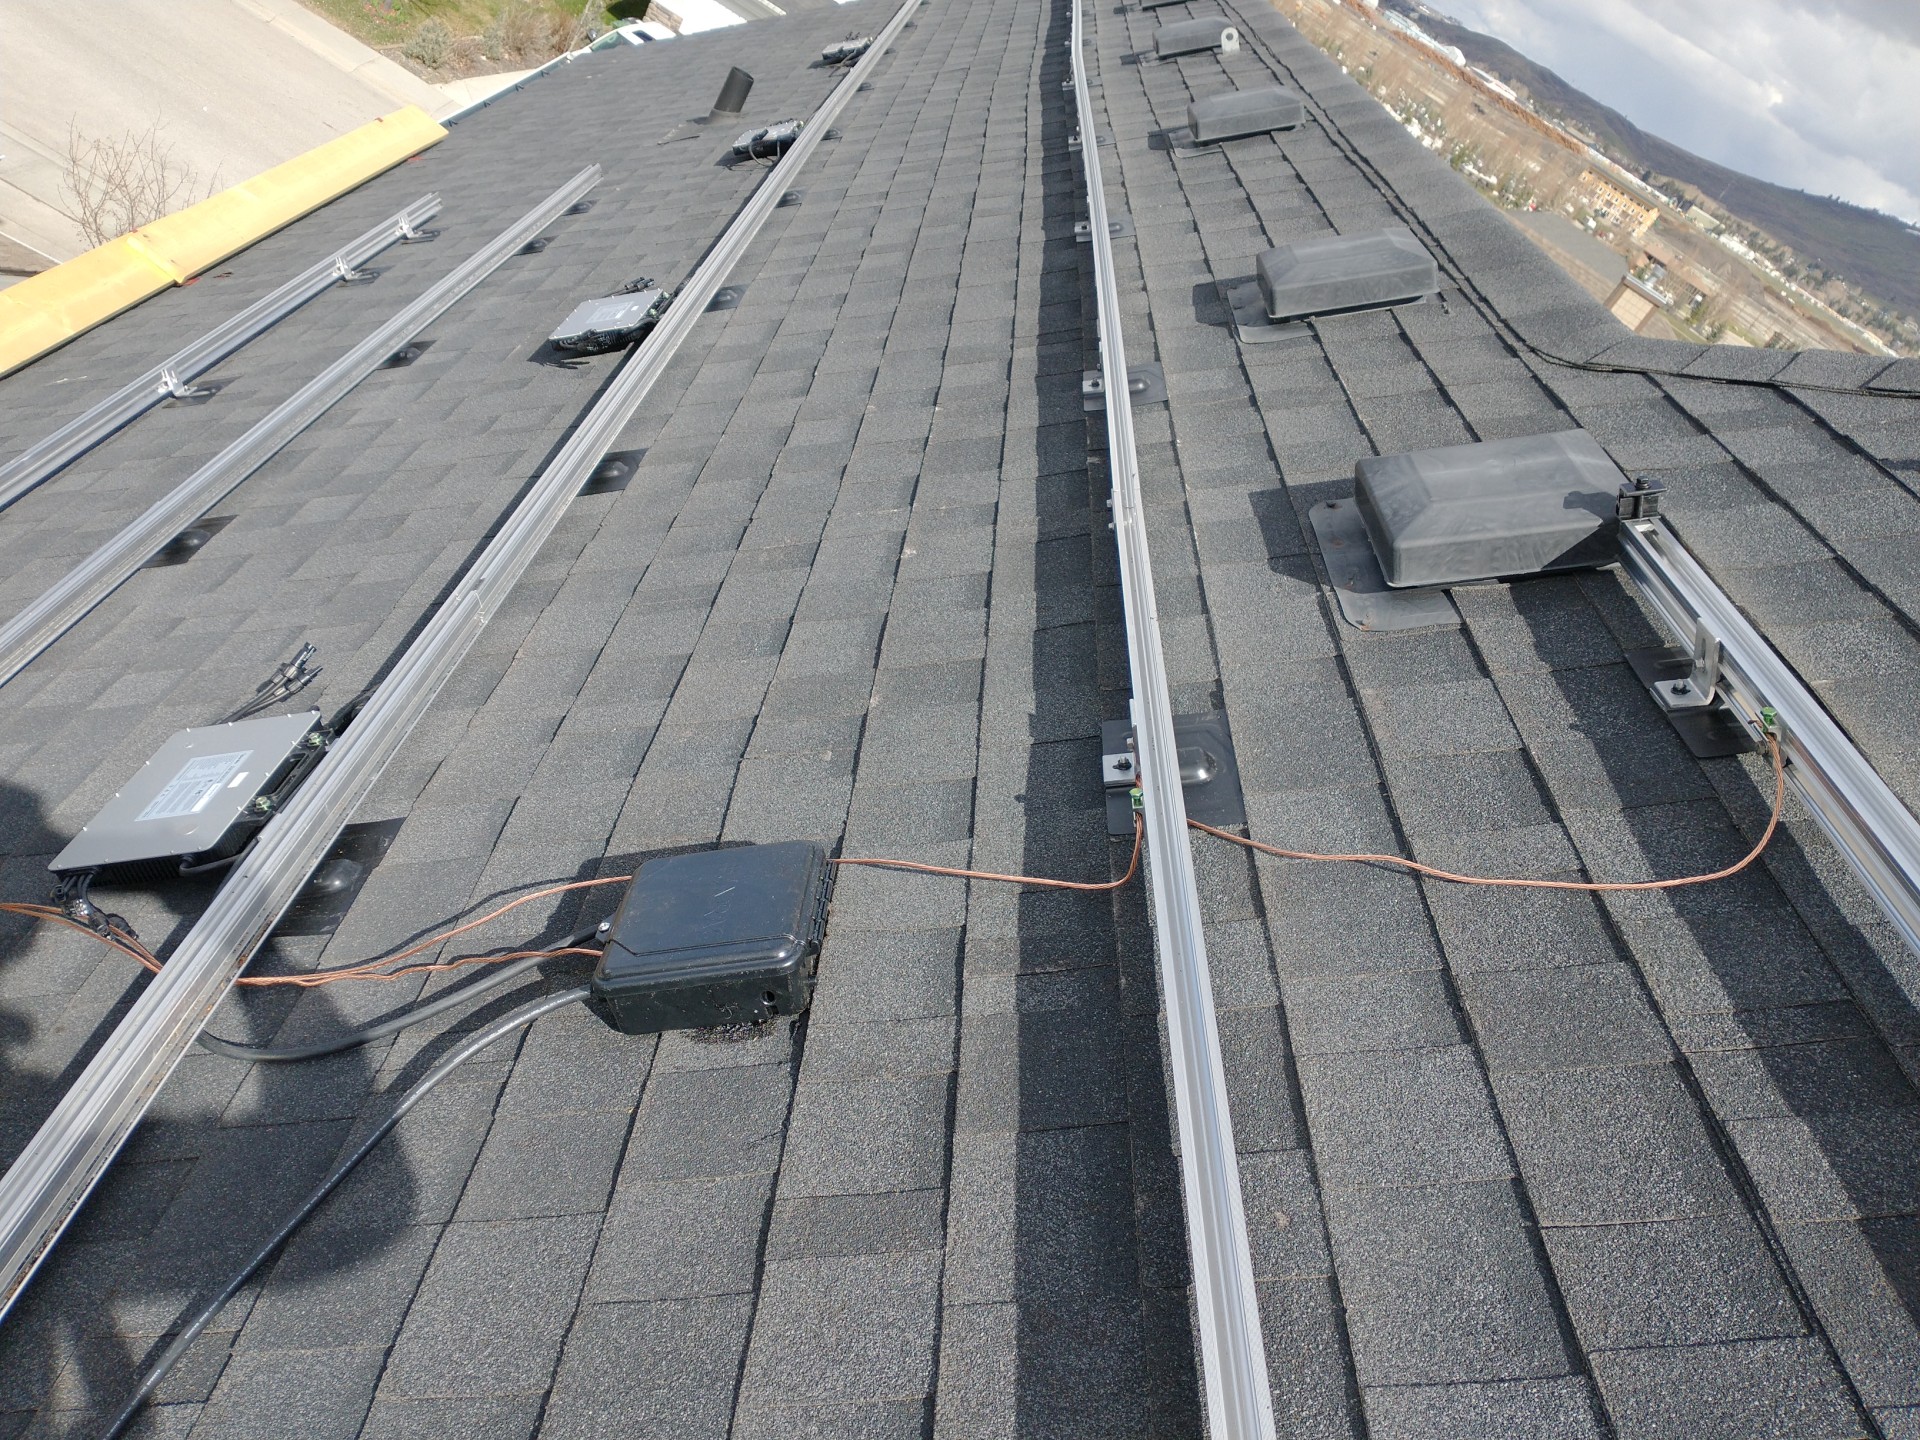
Here is the attic side of the junction box (using AC90 cable here, which goes down to my basement) and a bare copper ground:
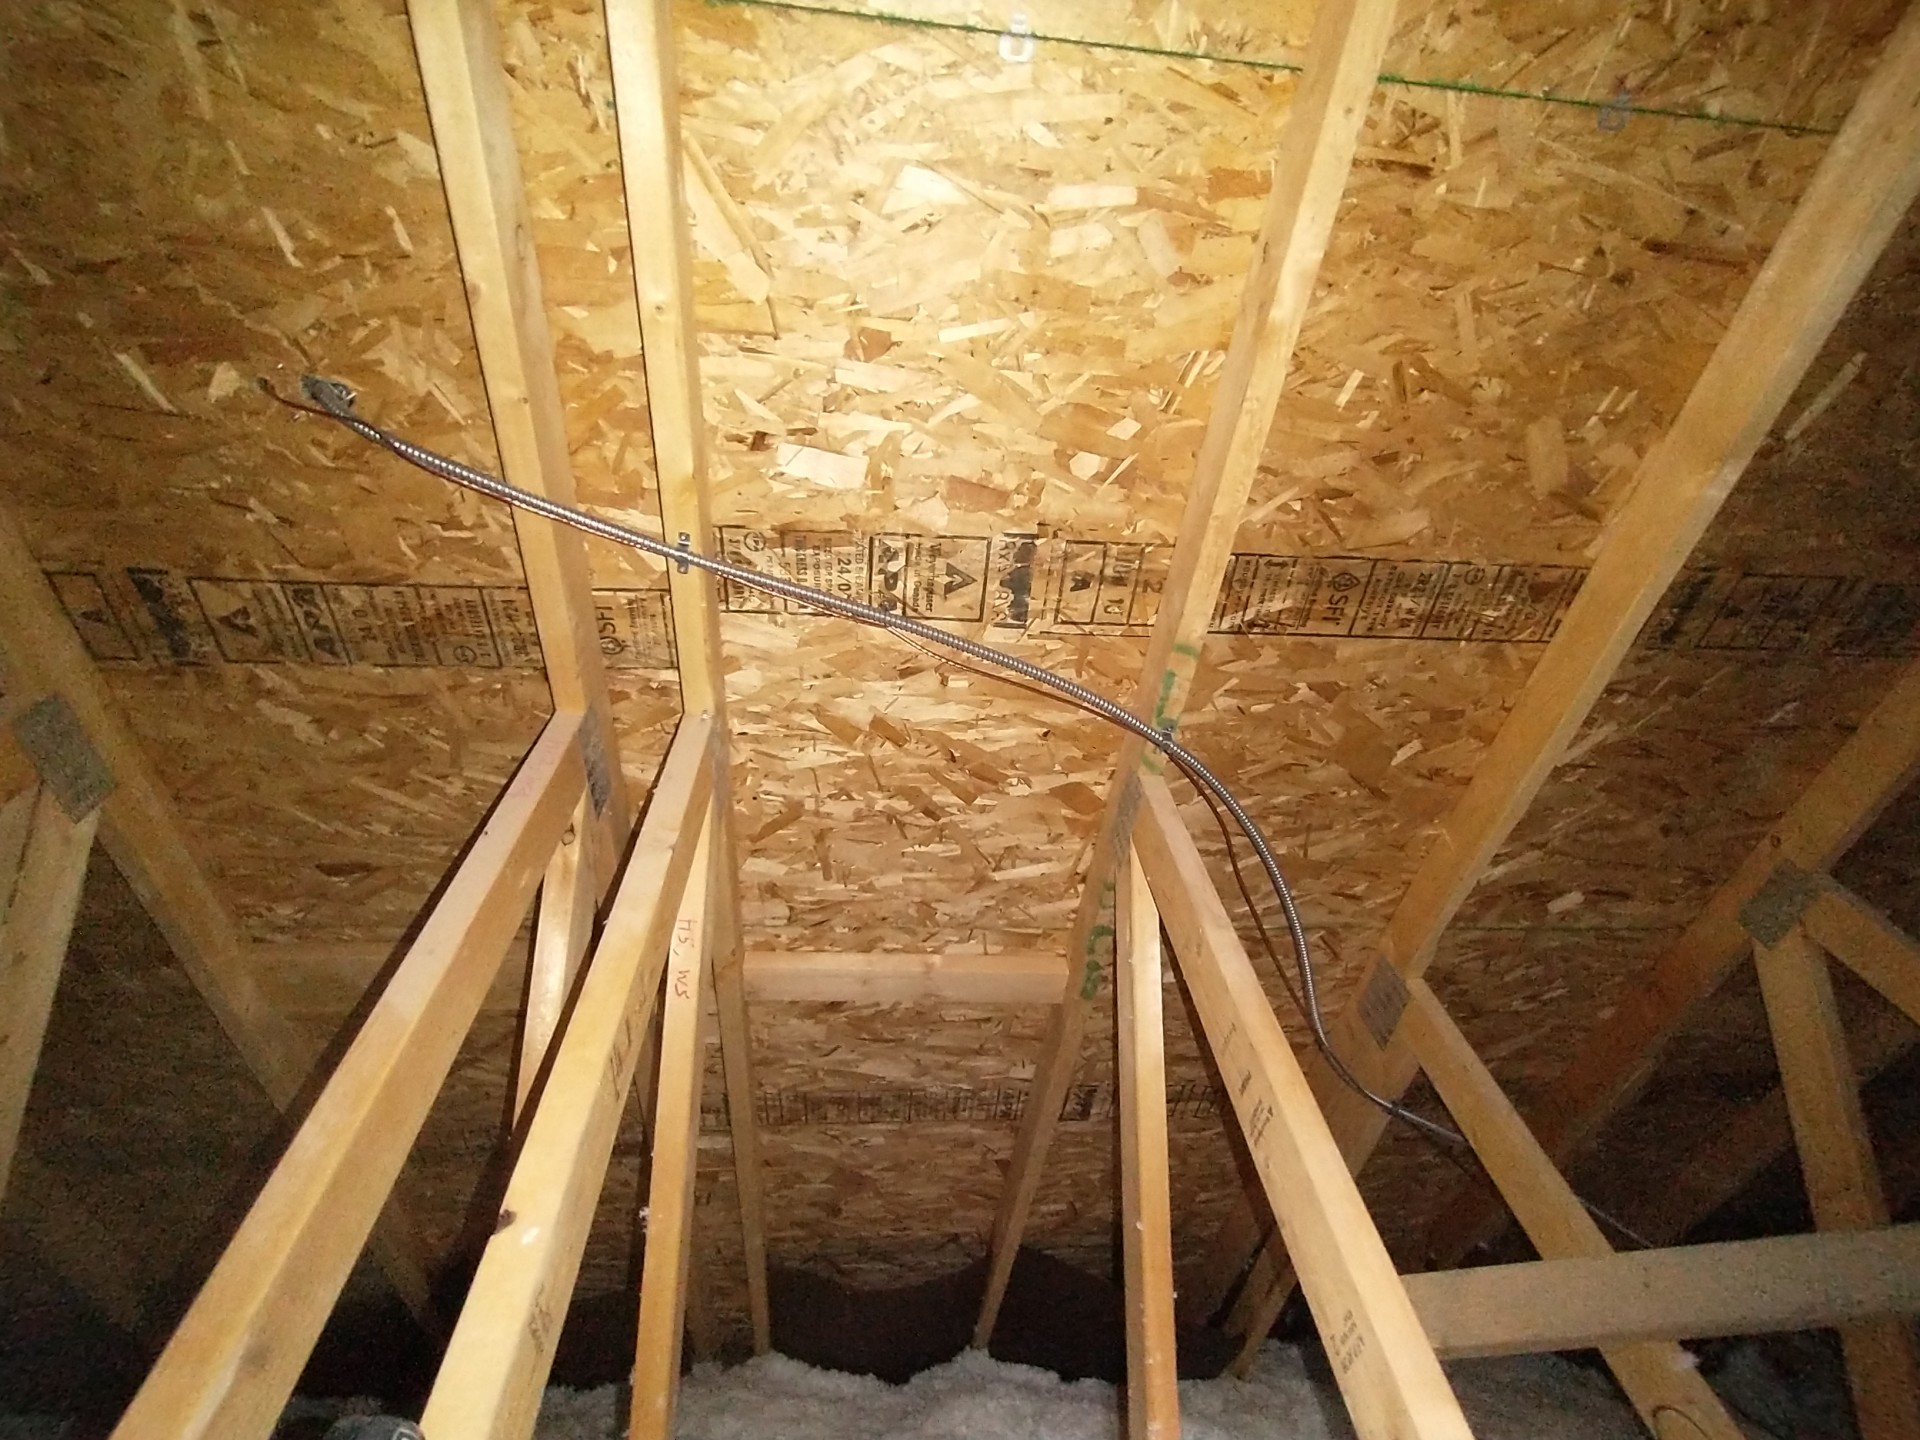
Here is the inside of the roof junction box, two AC branches from my micro-inverters connect to 4 wire AC90 cable:
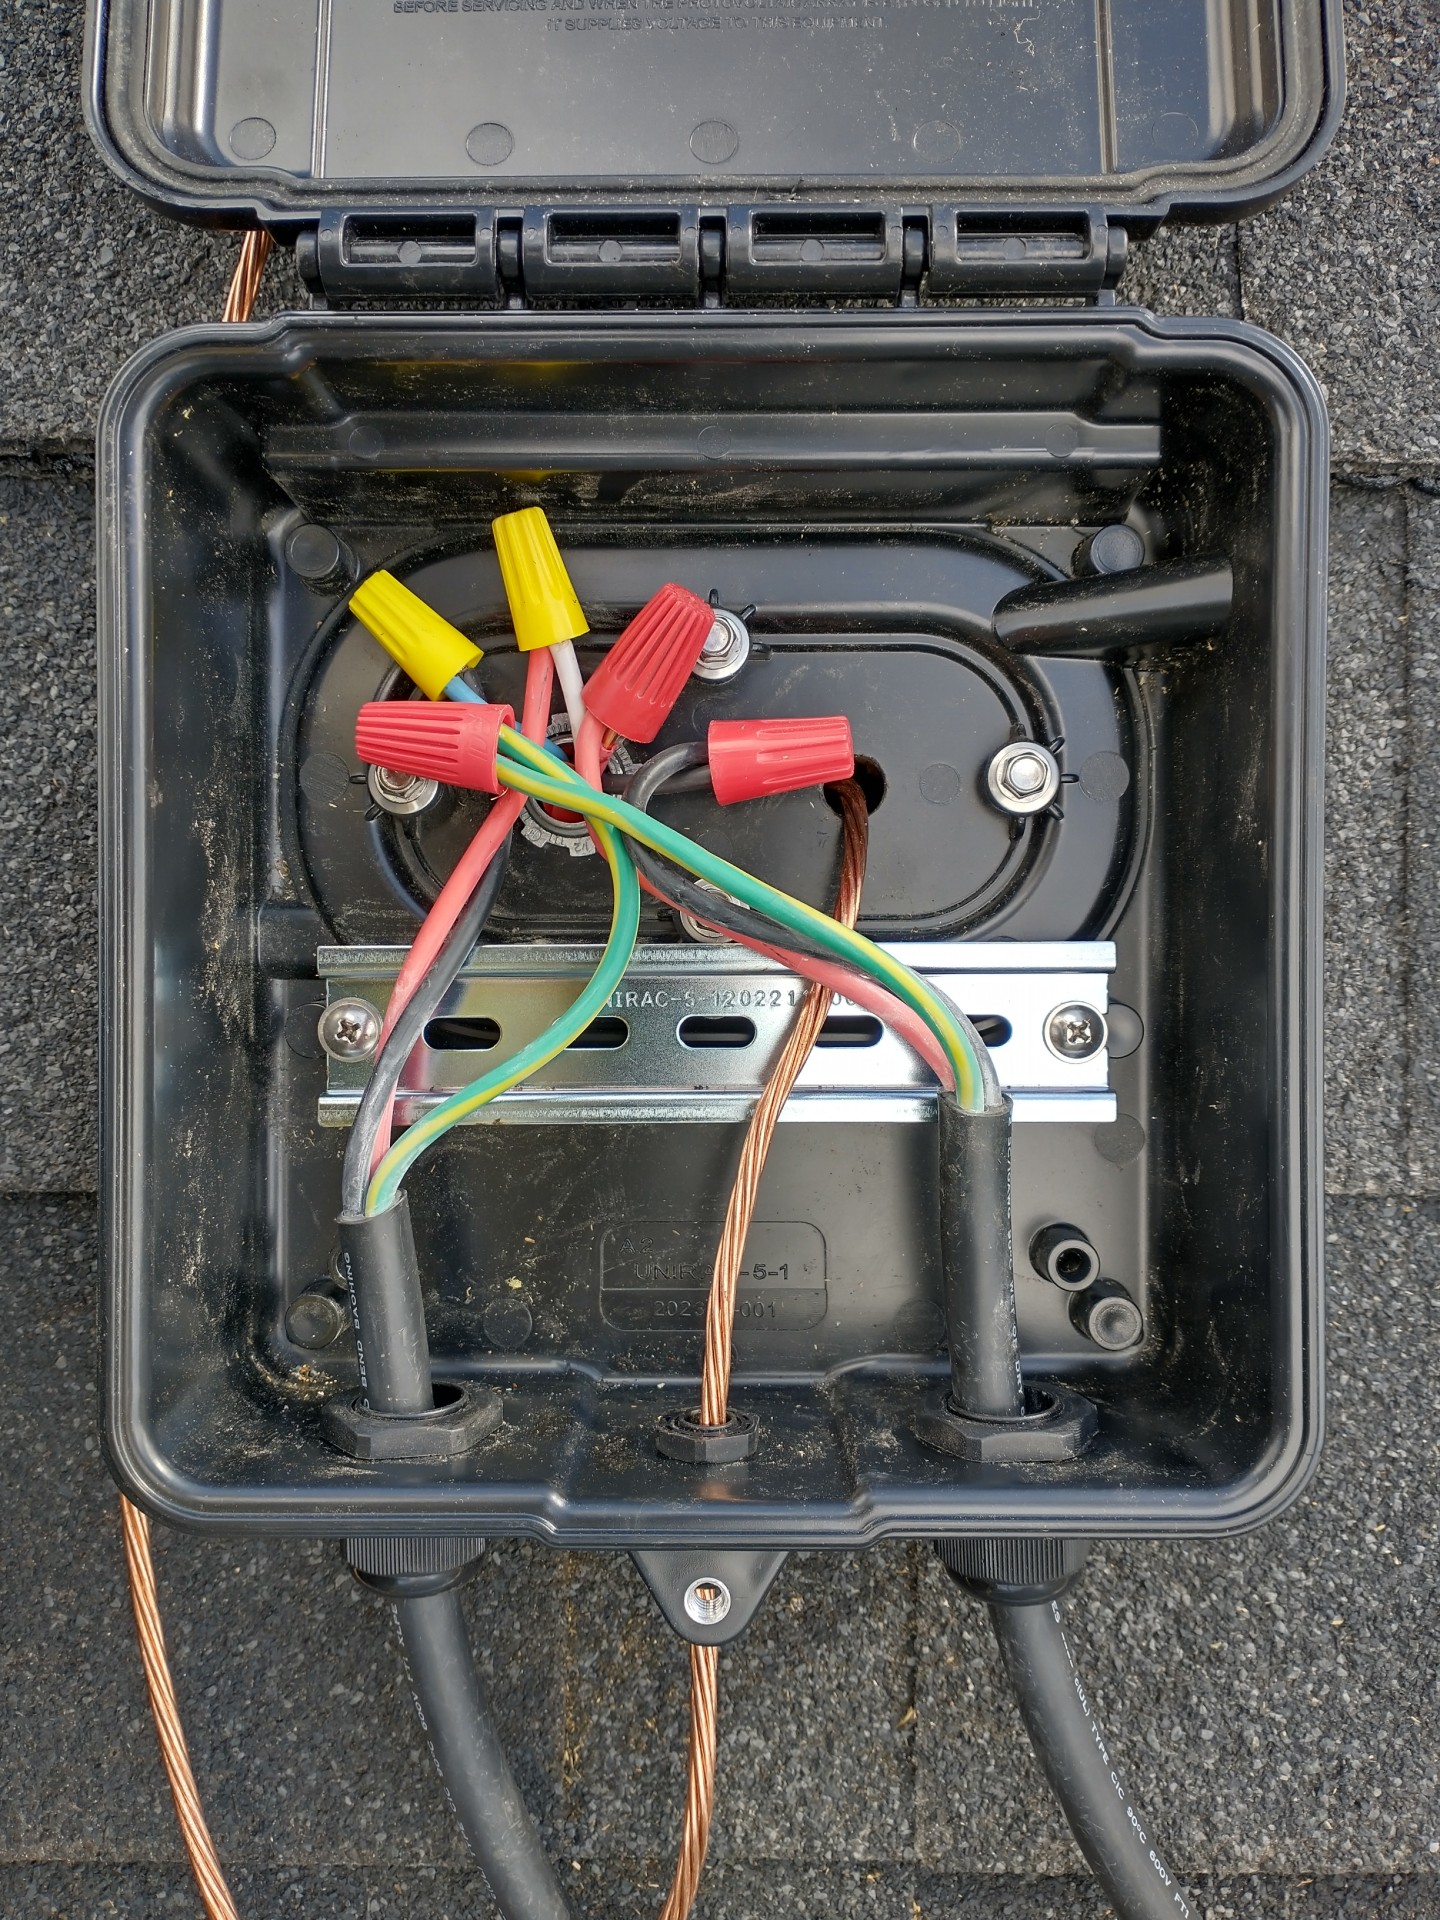
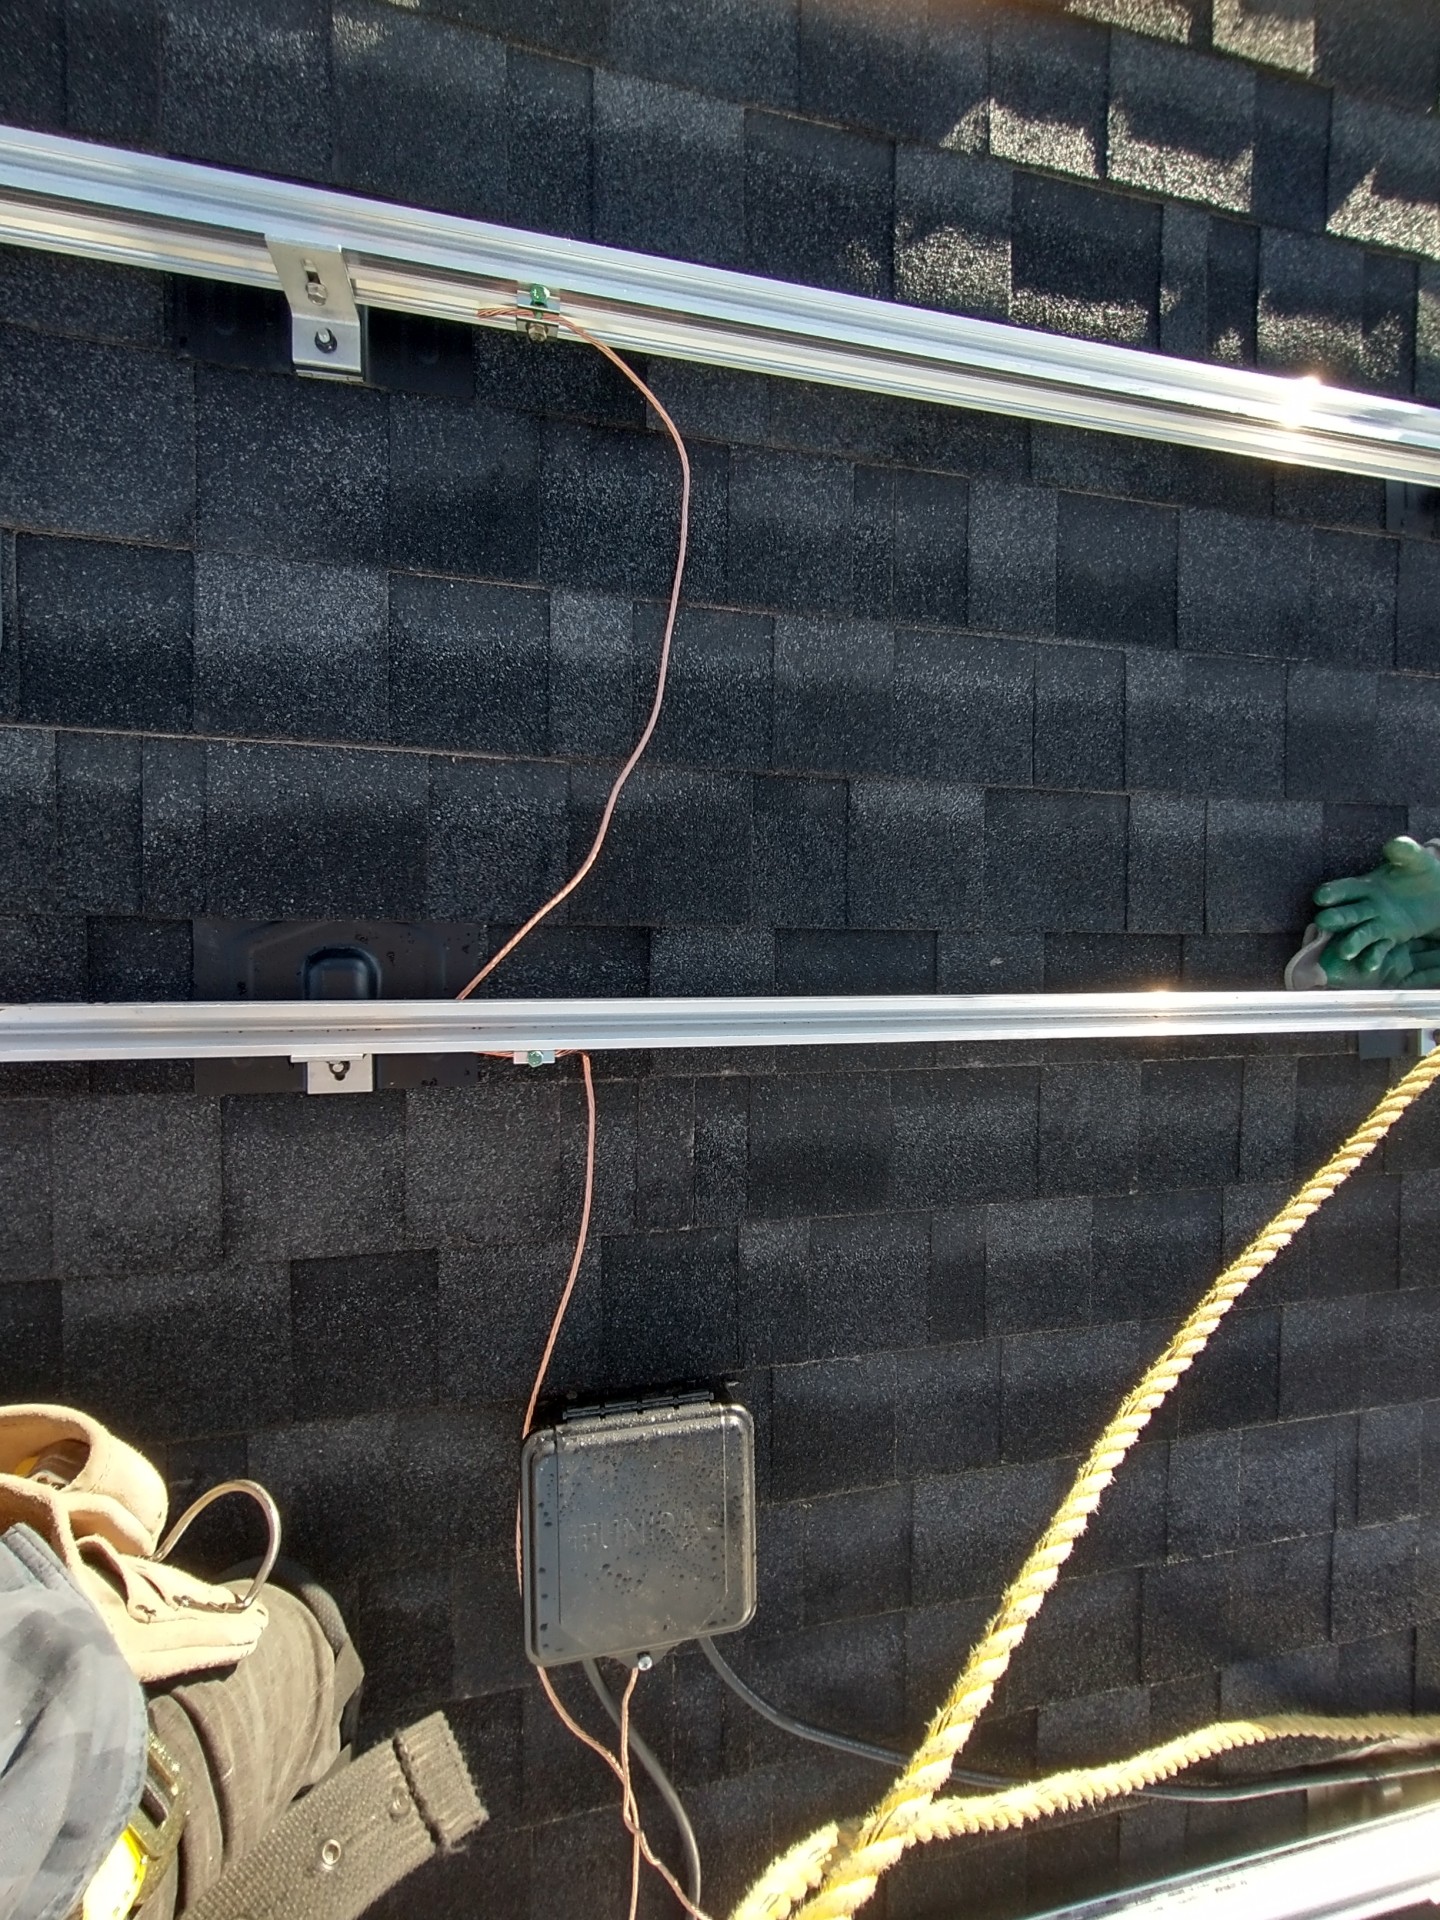
I've bonded the separate rails together (using the lug nuts that connect to the rails):
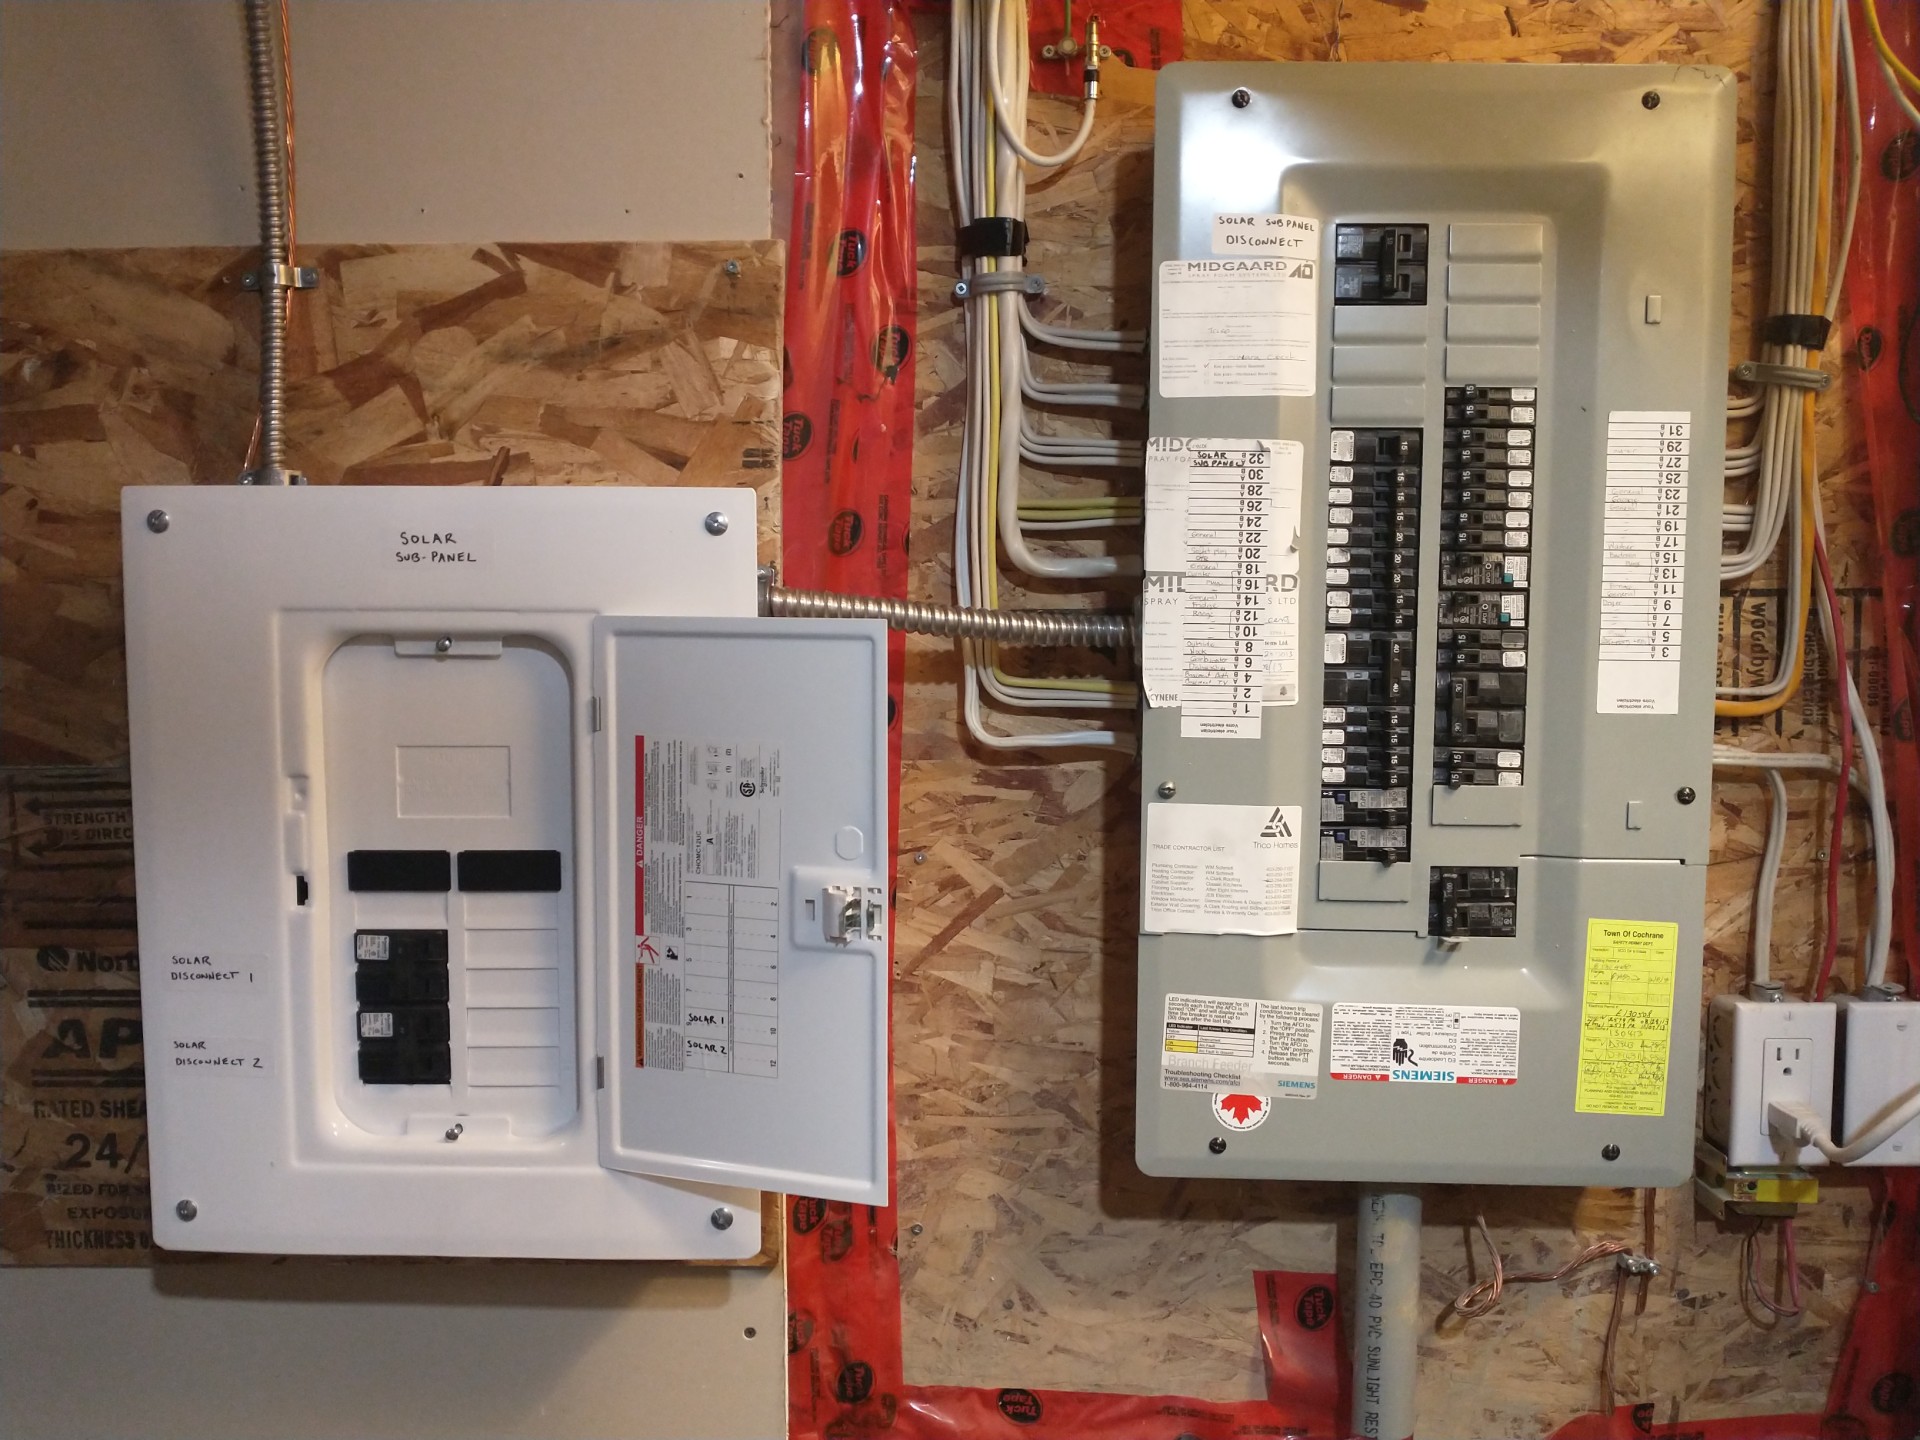
Here is my basement setup. Main break panel on the right, and new subpanel installed beside it on the left:
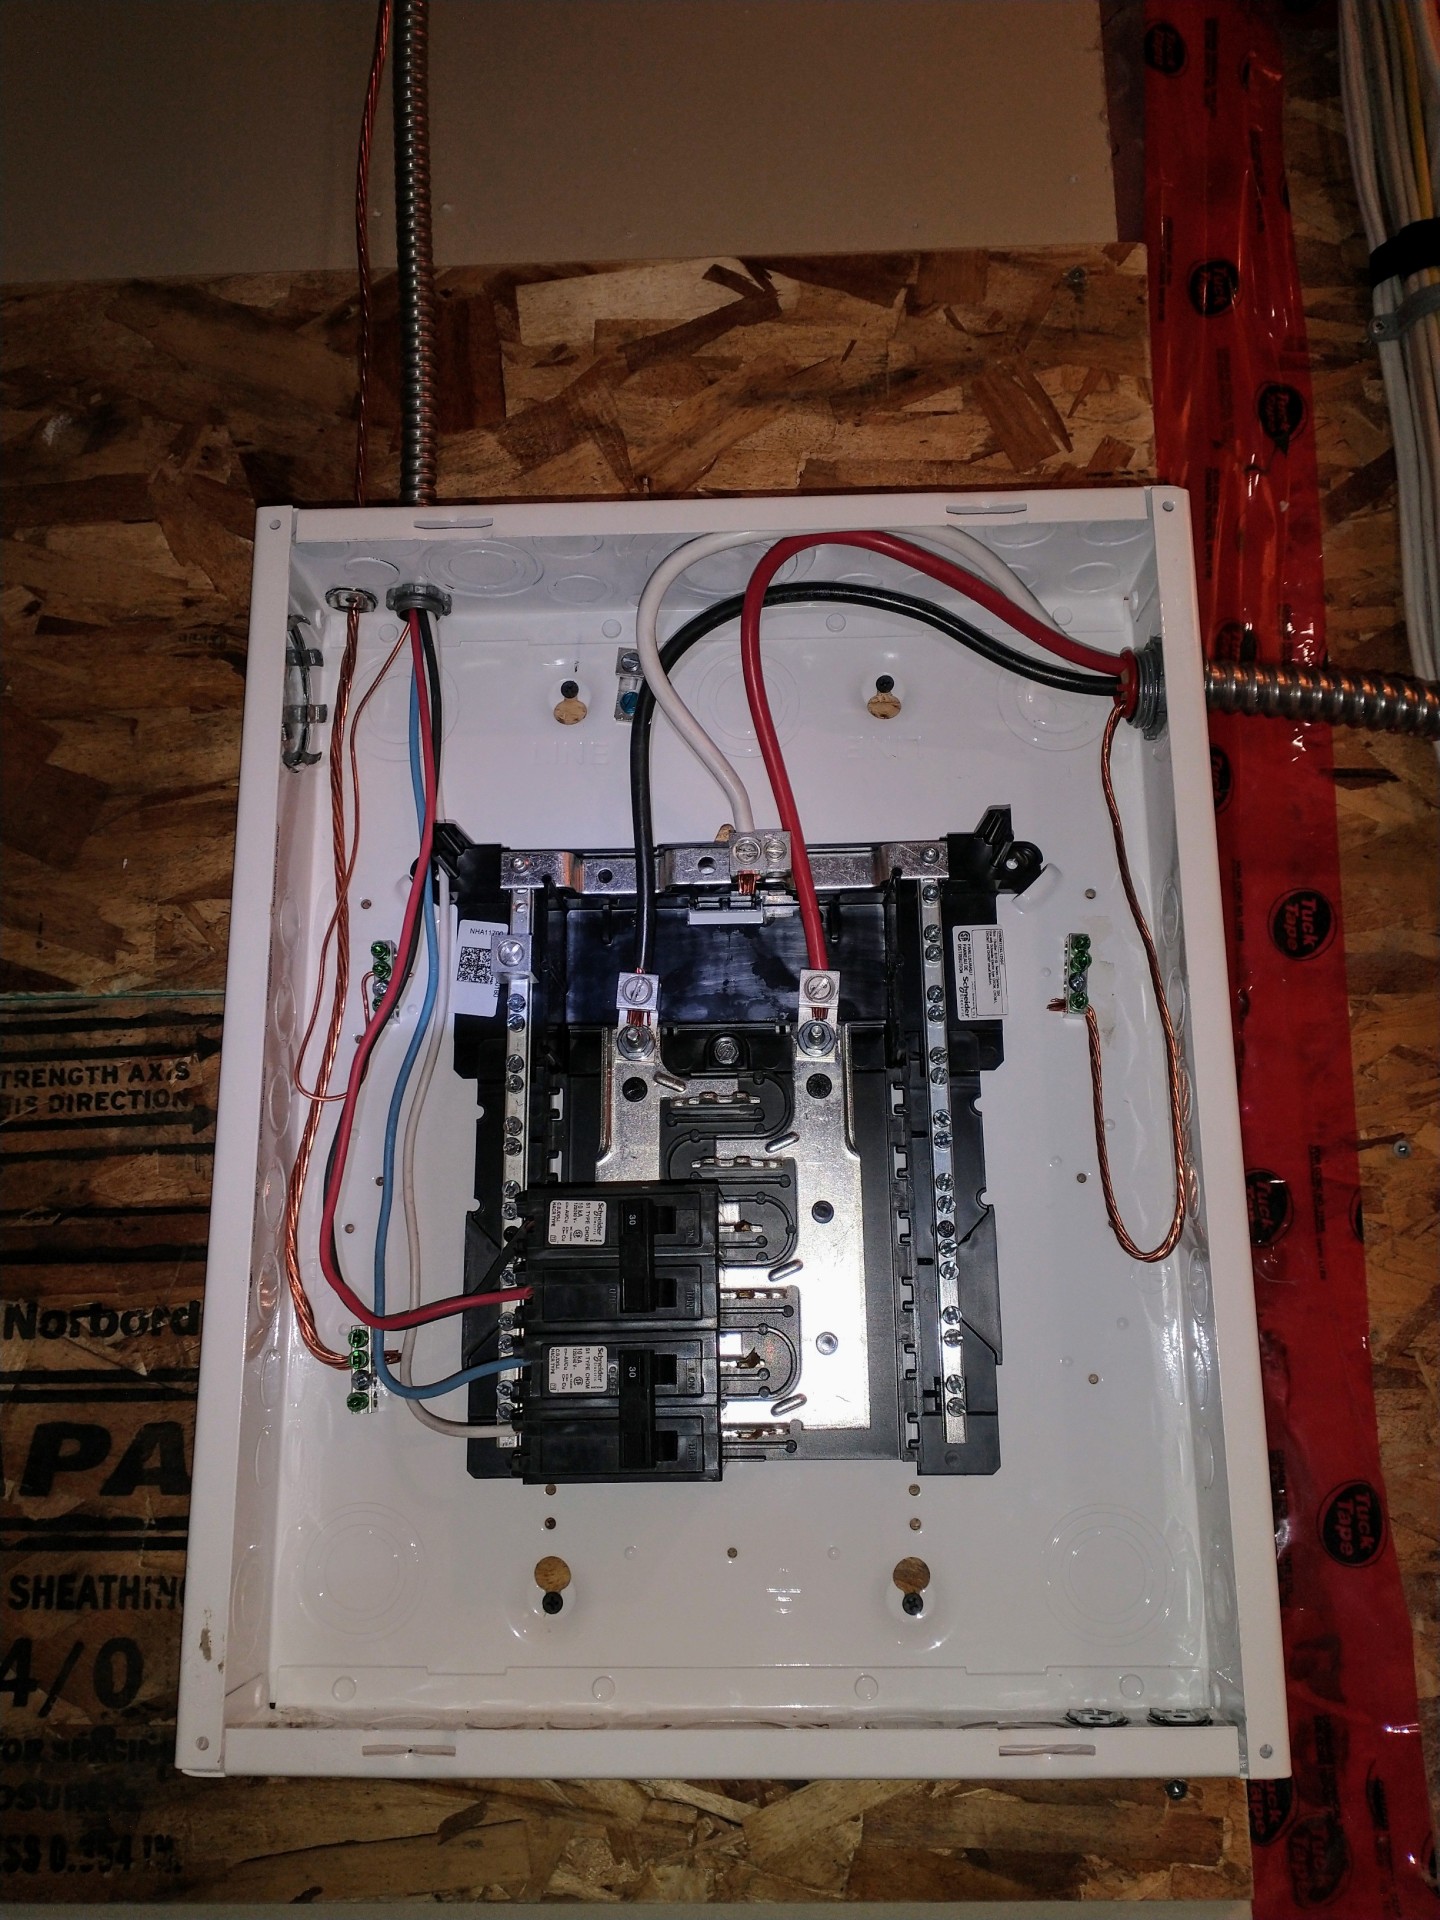
Wiring of the subpanel. AC90 and bare copper ground coming from attic into the top of the panel. AC90 exits the subpanel on the right and feeds into main breaker panel:
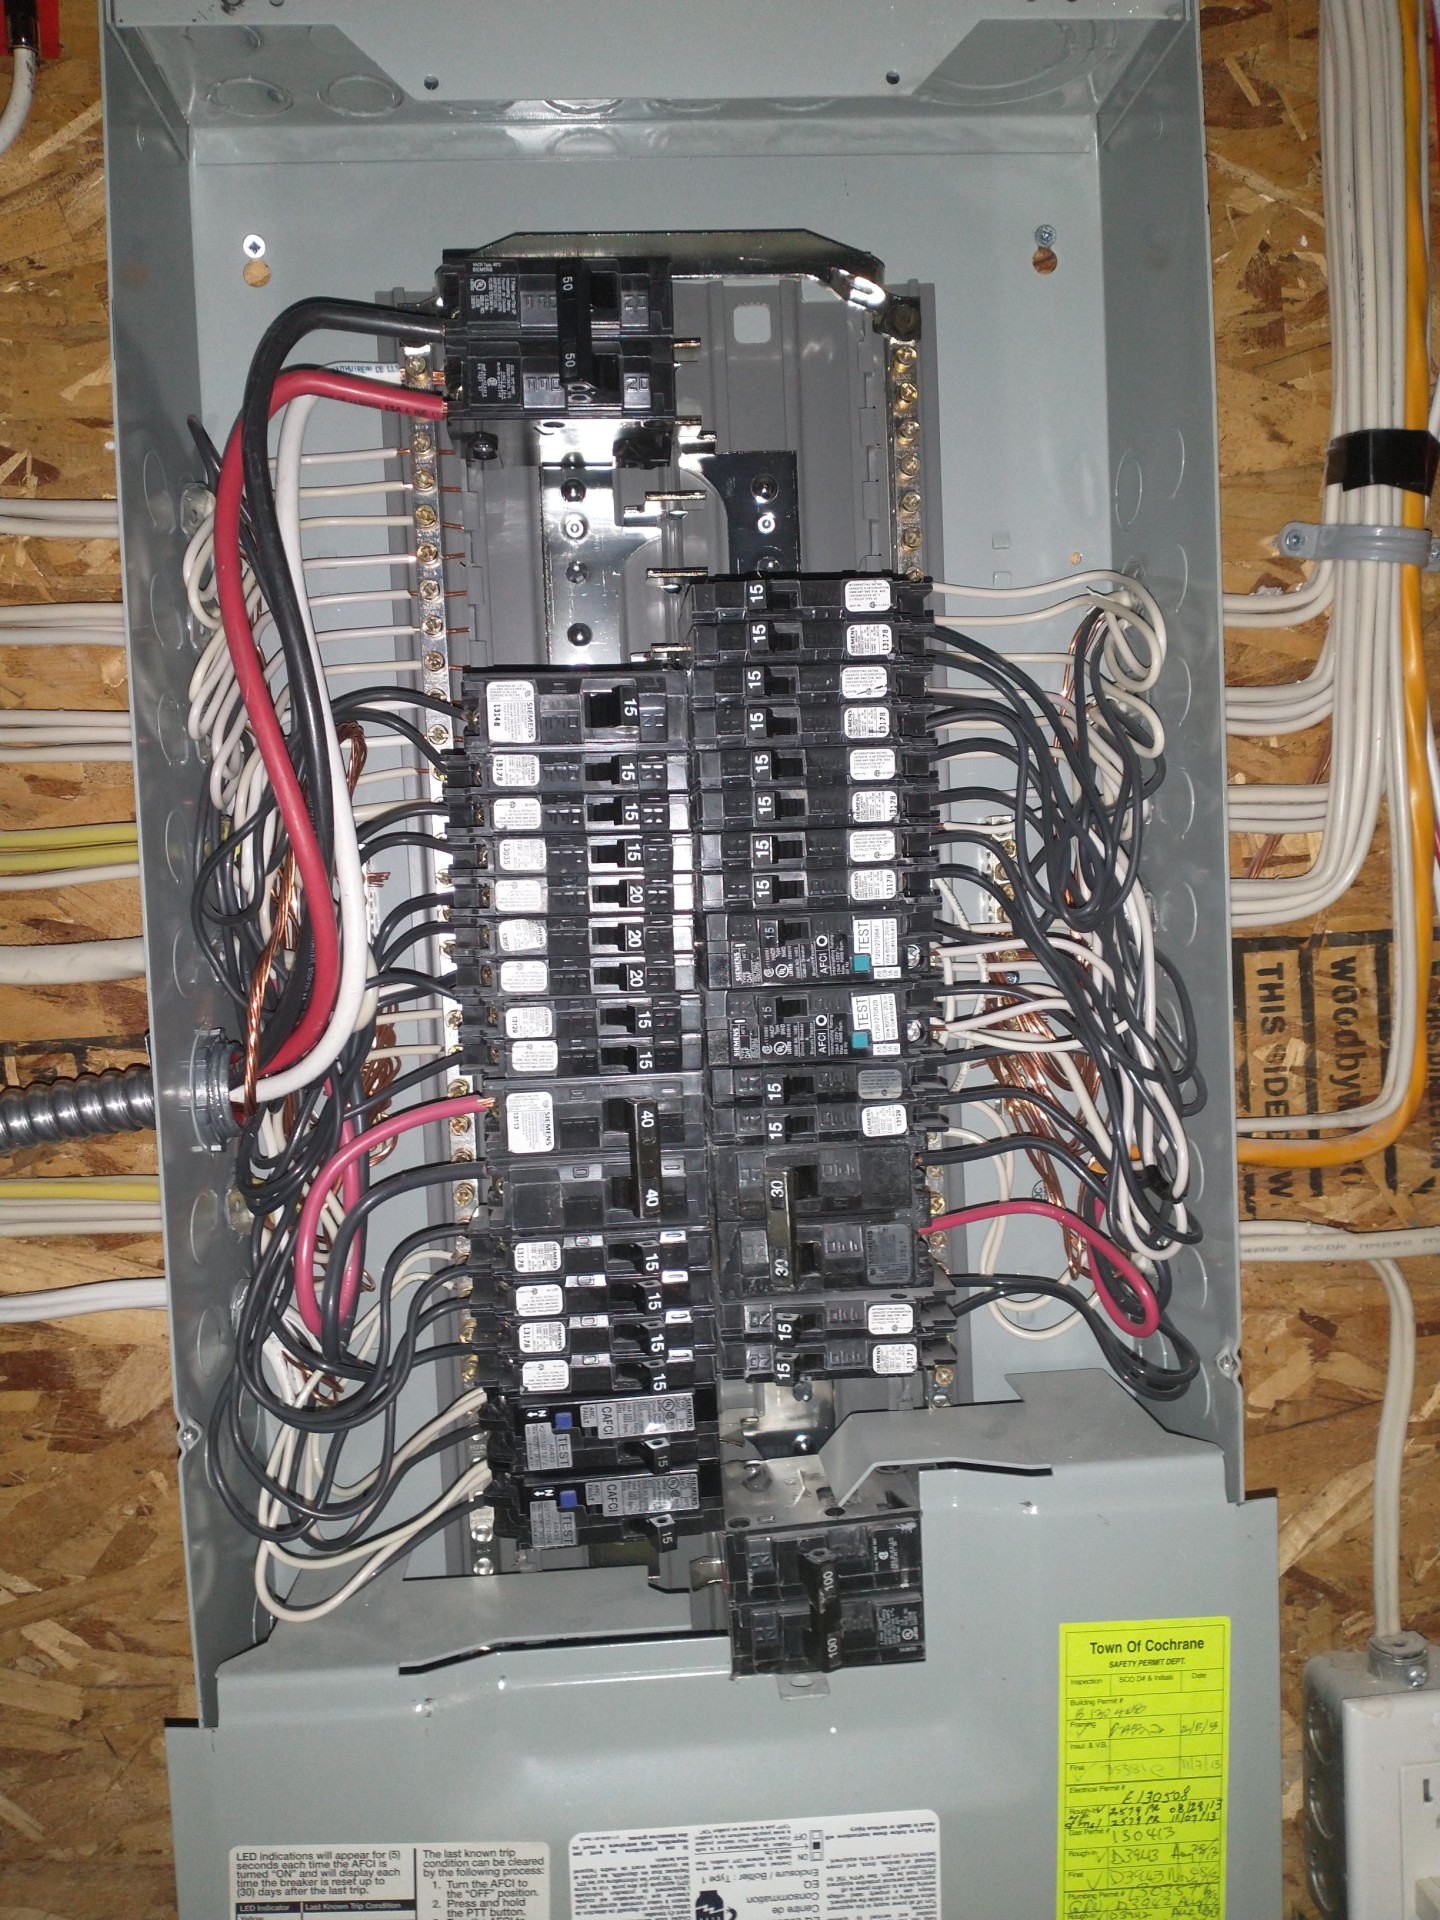
Here is the main breaker panel work. It's a little crowded and I probably should have entered my main breaker panel from the top instead of the side (note that the canadian electrical code (CEC) requires you to connect your back-fed solar connection on the opposite end of the busbar from the main breaker - your electrician will guide you on this).
Once my electrician approved the work, I could proceed with installing the solar panels:
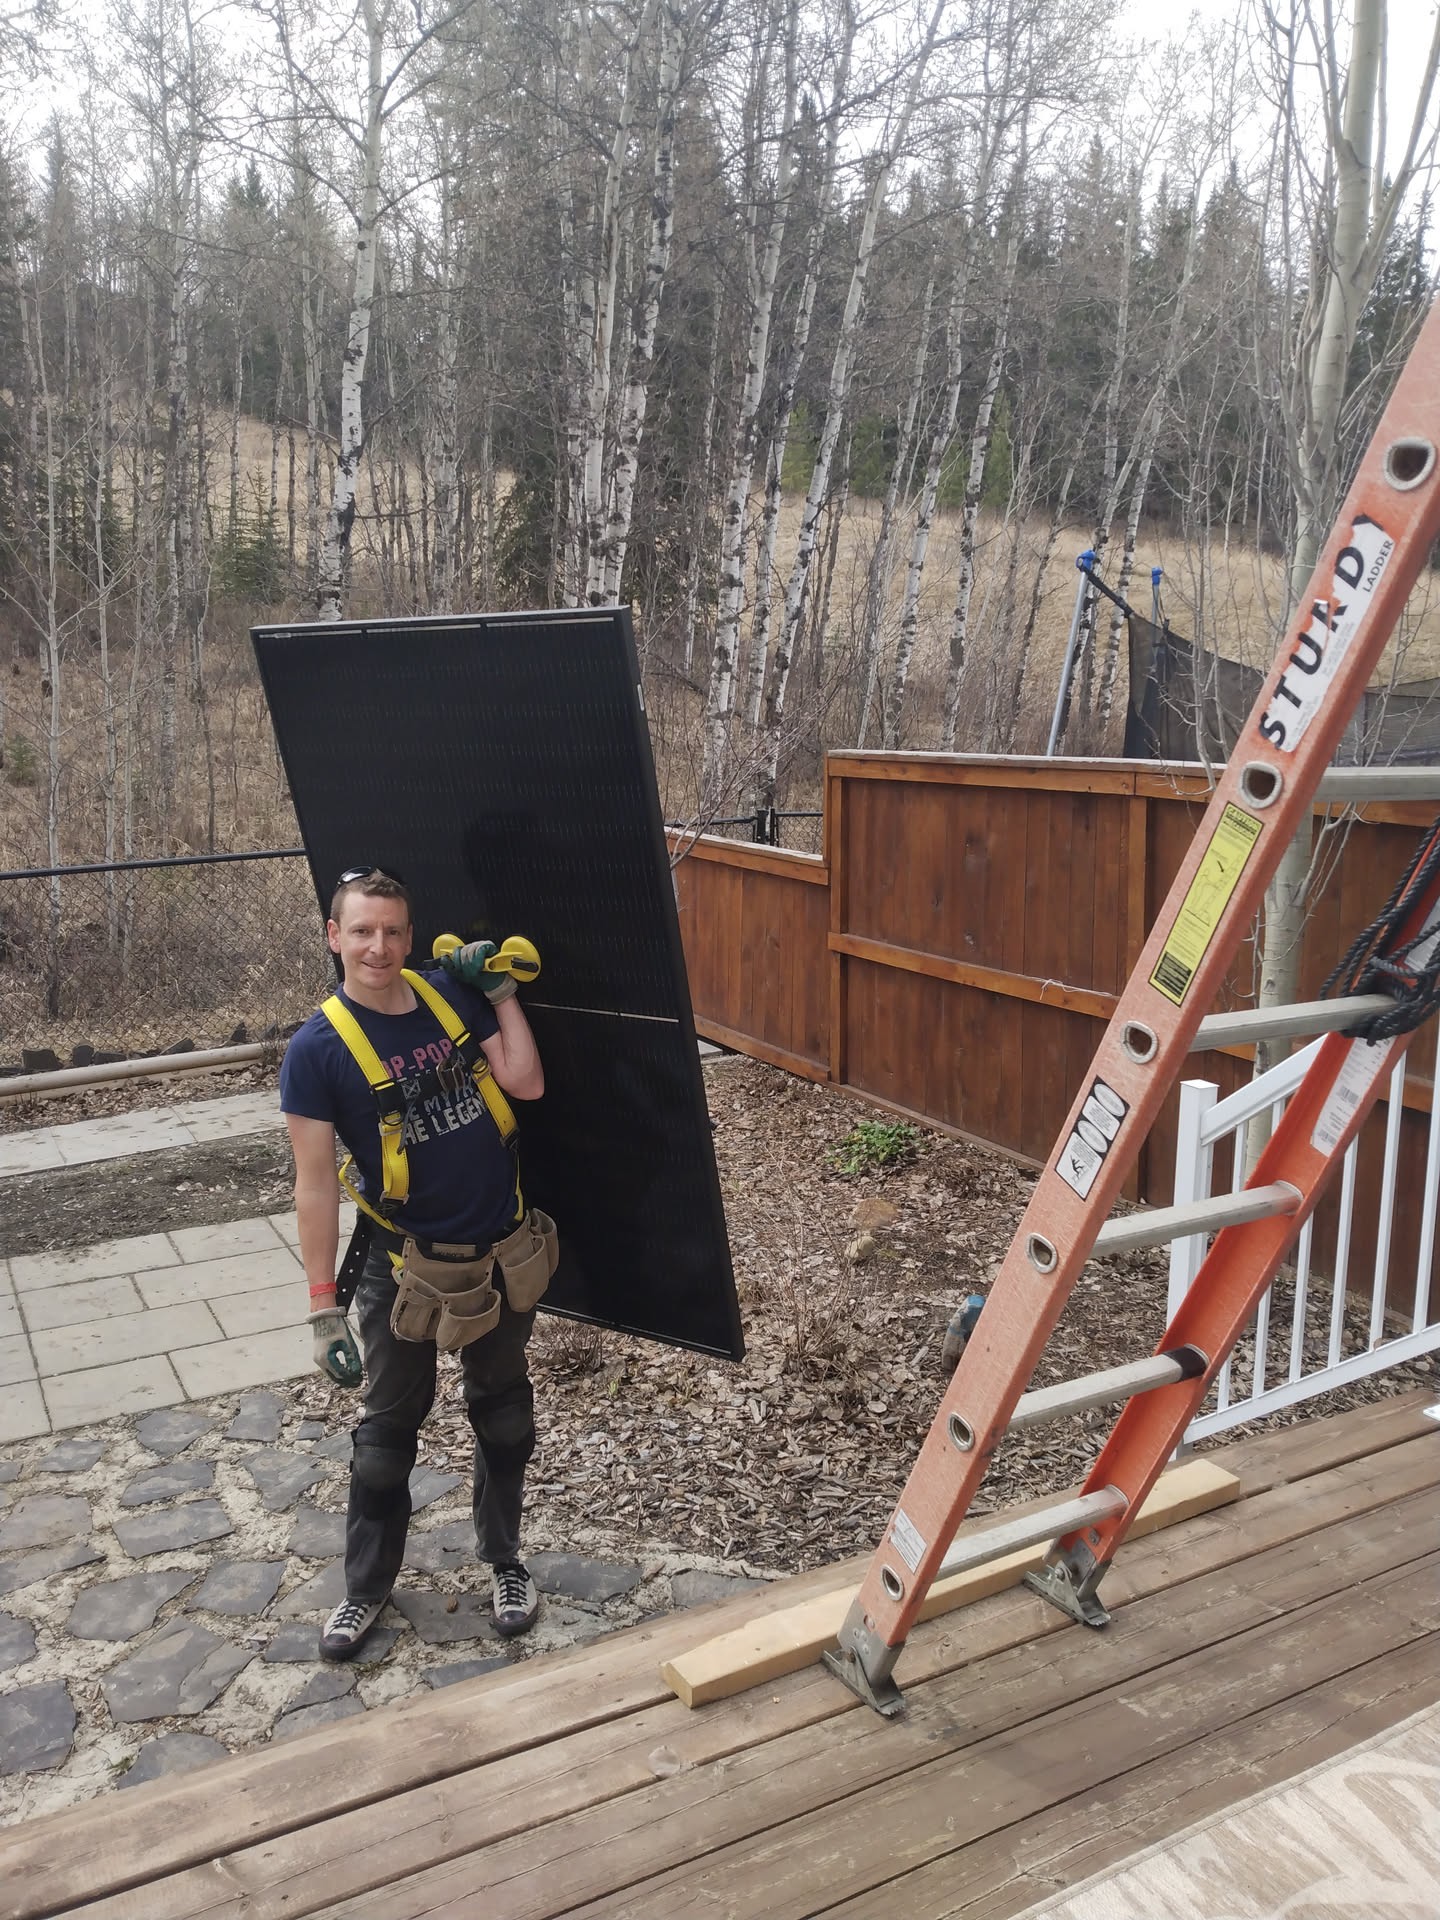
Each panel is around 40lbs. The suction cup handle was wonderful. At the top of the ladder I was able to slide the panel onto a rail (I laid a moving blanket down to make sliding the panel easier and to avoid scratches). Then I would connect my harness and climb up onto the roof.
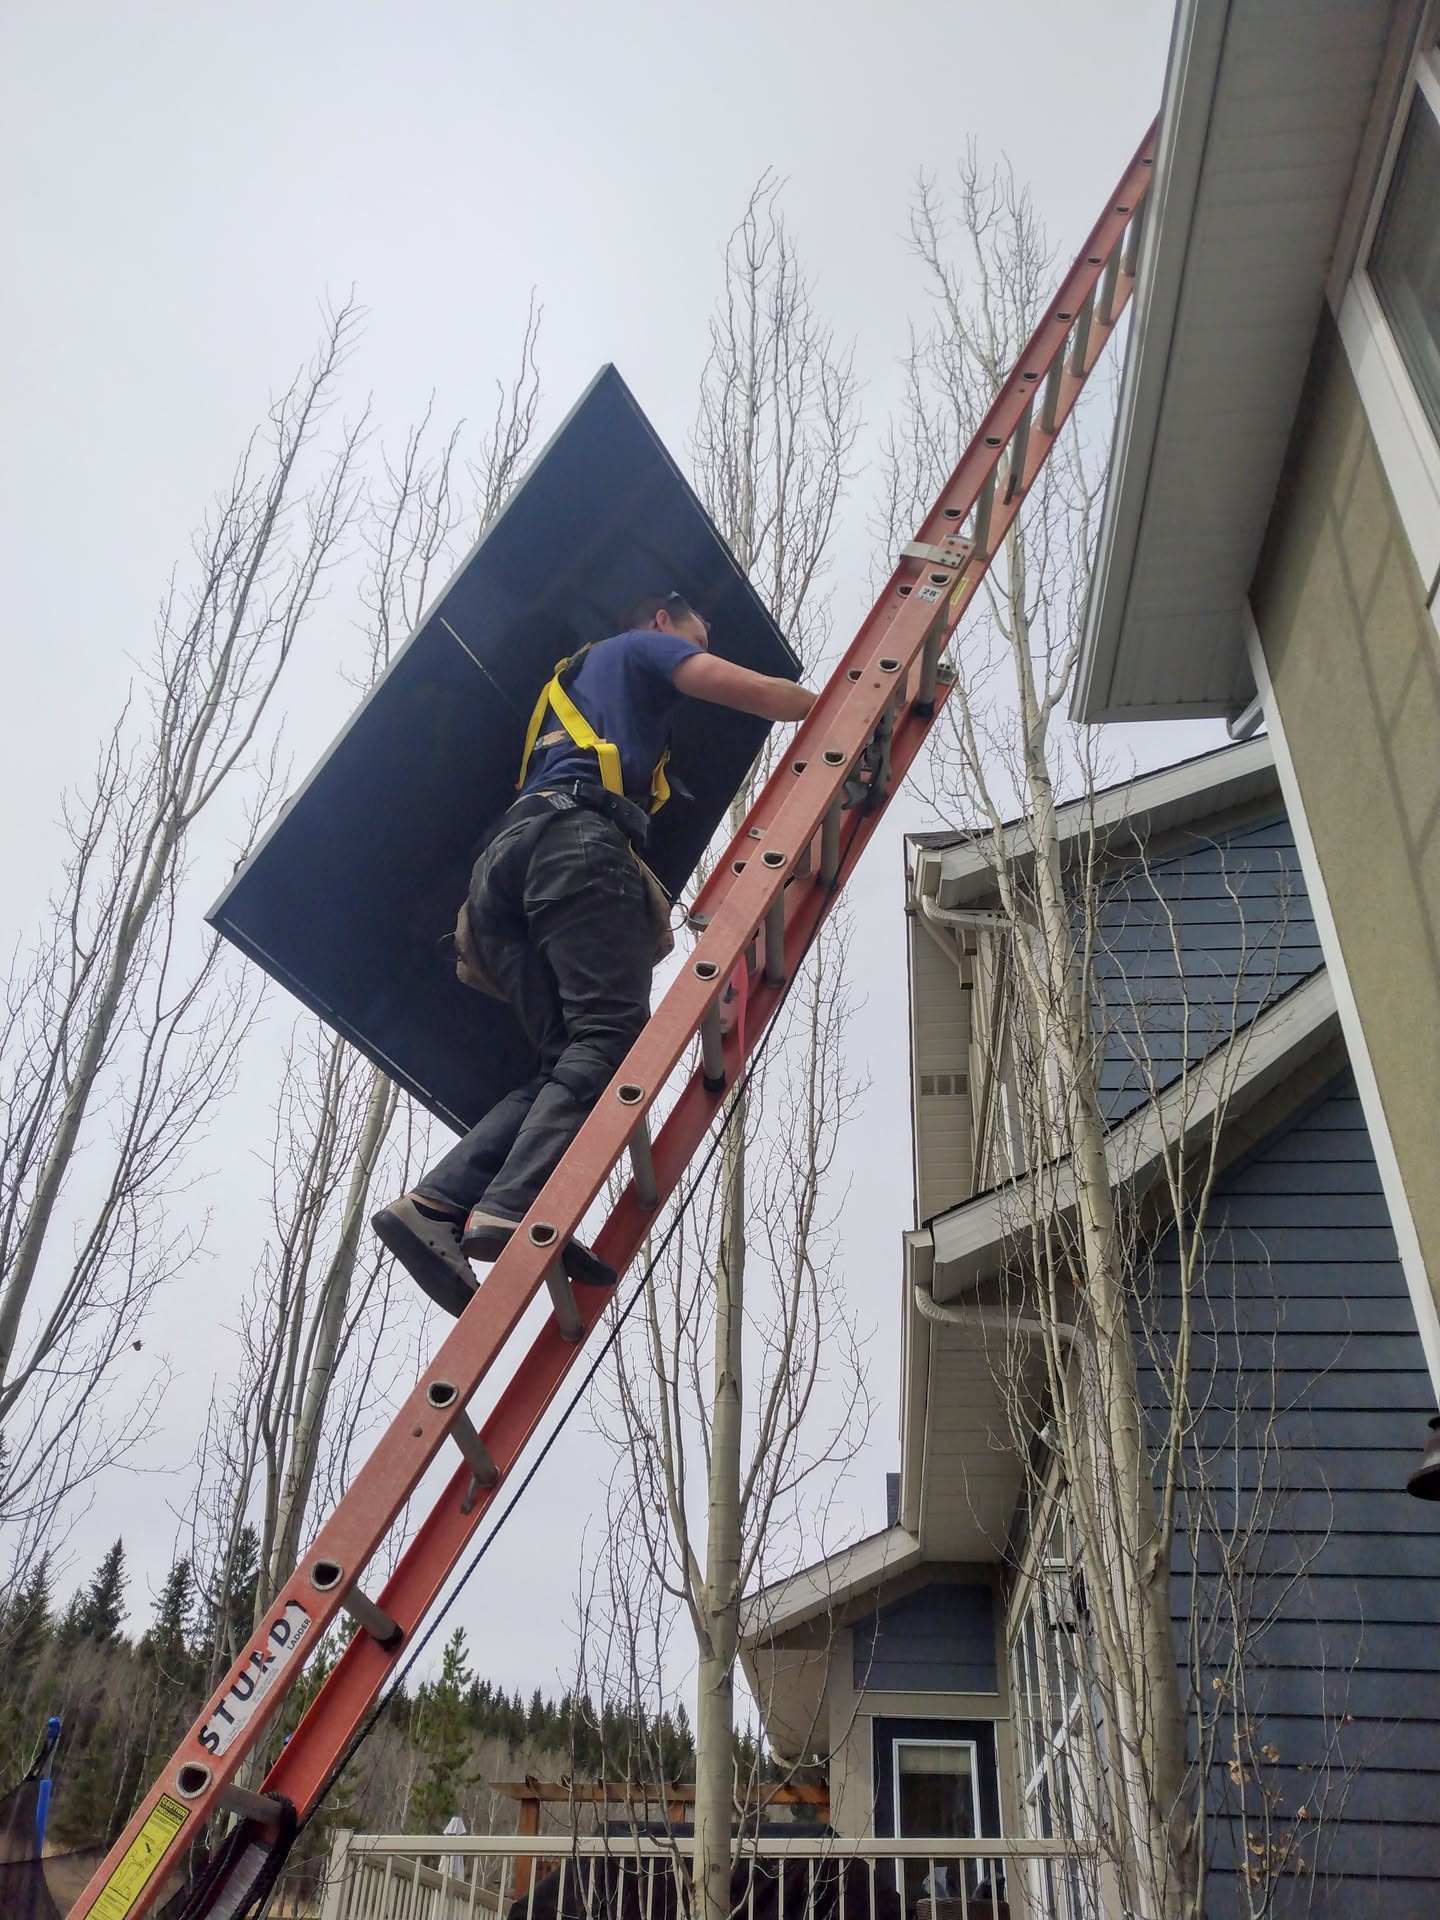
Once the panels were installed, I submitted the completed electrical permit to Fortis for the interconnection agreement and waited for them to swap my meter to be bi-directional and give me the go-ahead to turn on the system.
Overall, an awesome home improvement project that I would recommend to anyone. If anyone has any questions, let me know and I'll do my best to answer.
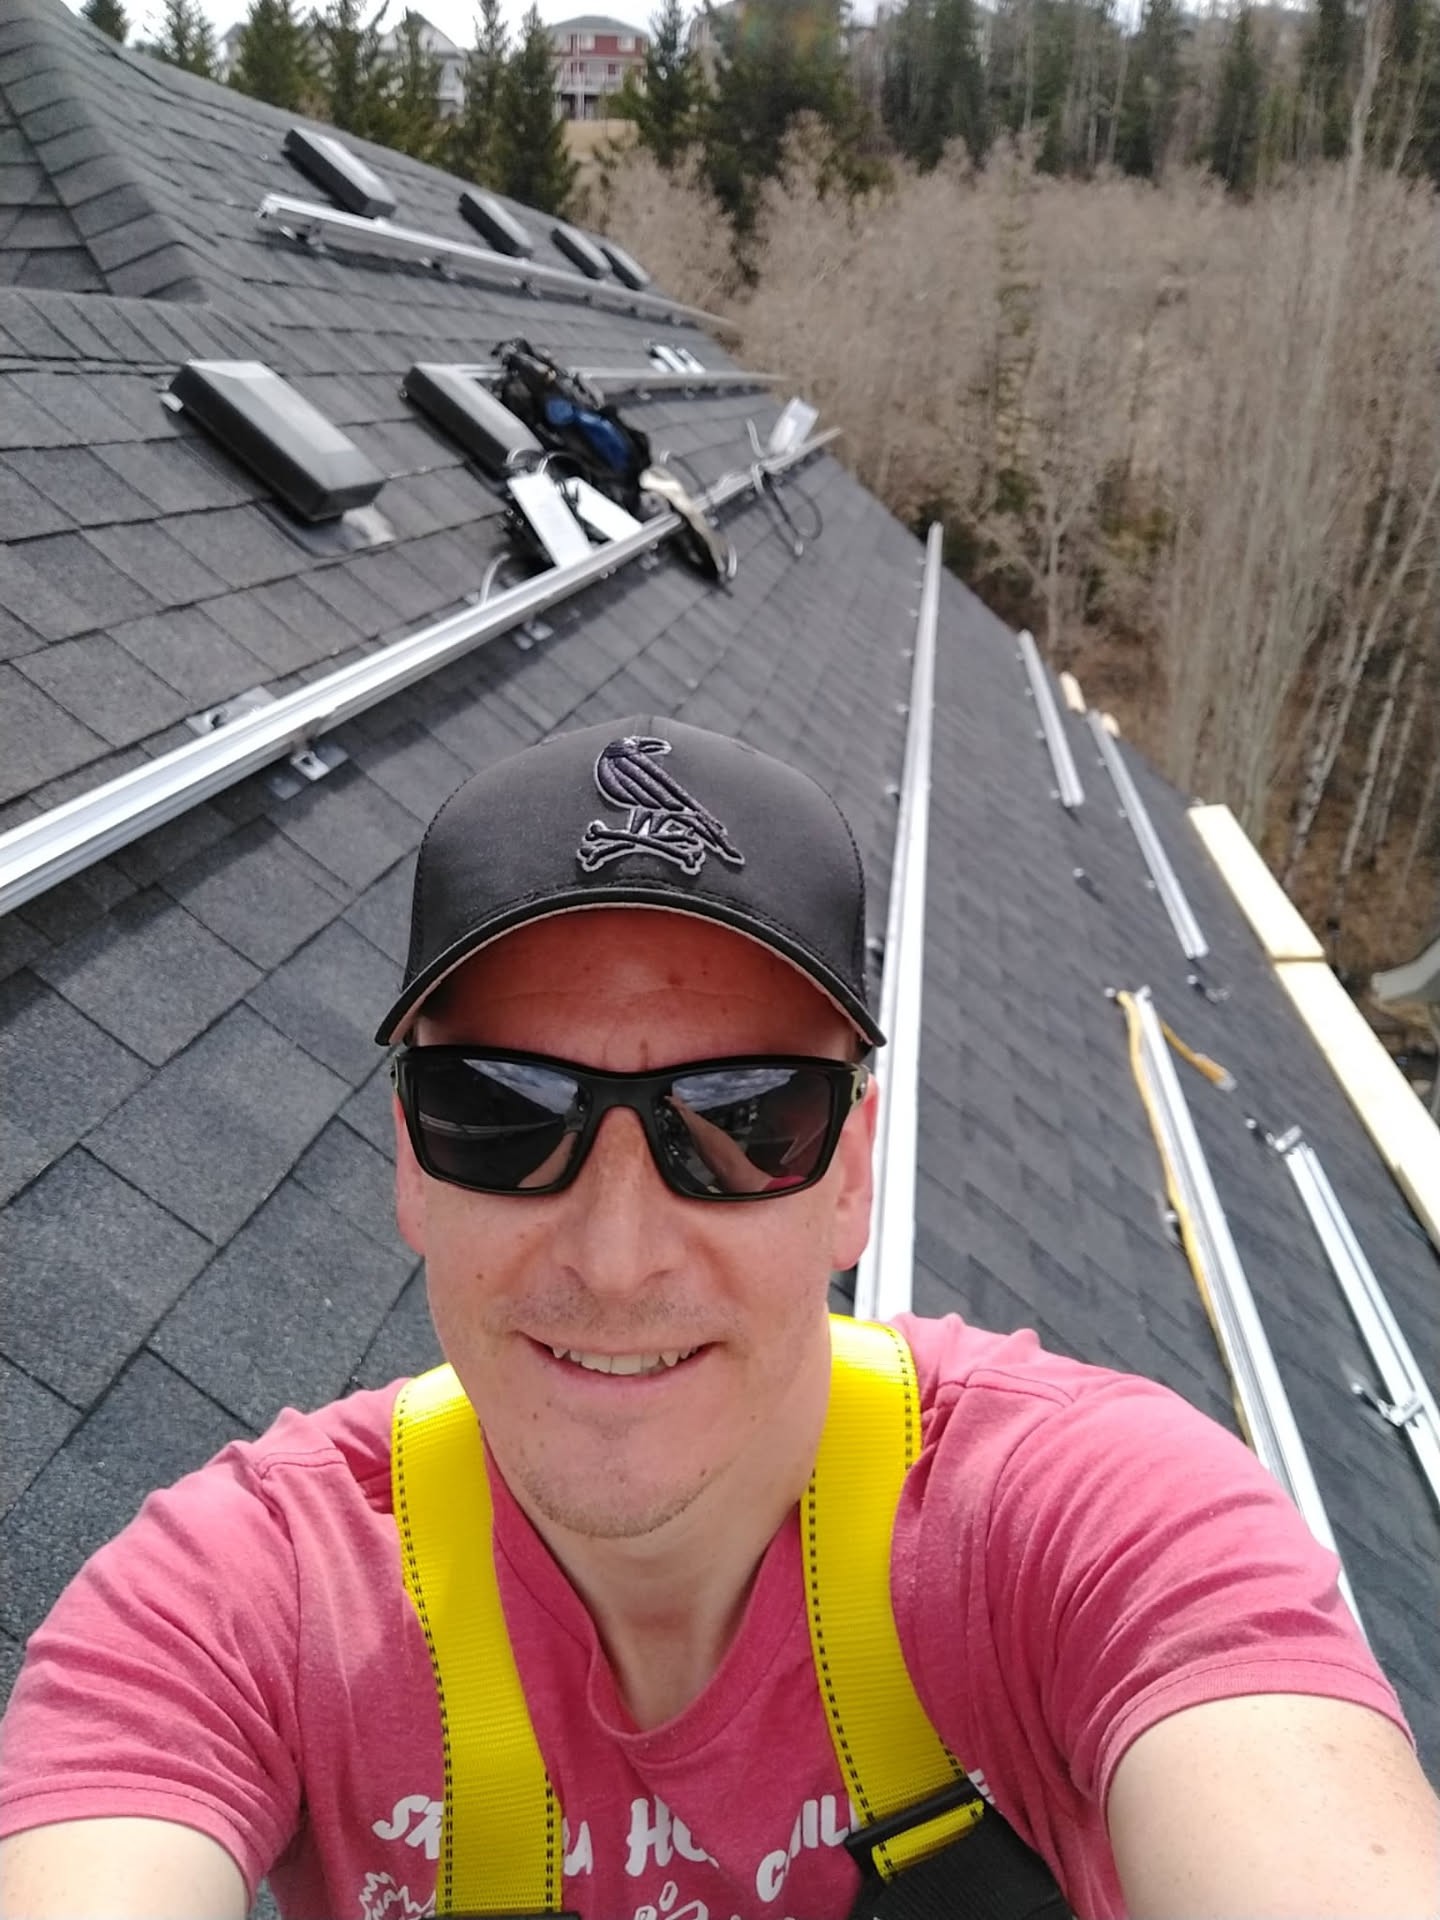
If I can do it, so can you!
Note: The electrician I used was Ritchie's Electrical. I created a recommend-electrician post on my experience with them here: Calgary Area Electrician - Ritchie's Electrical